Friday, 24 March 2023

For My Friend

Hello crafters!  I started this card by selecting a piece of custard card.  I embossed it using the Rose Bed embossing folder.  I used spray glue over the entire piece then sprinkled Frosted Sparkle Glitterbitz on it.  I cut a frame using the Clipped Corner Rectangles in white.  I added mounting foam to the back of the frame and attached a piece of custrad card.  I seated the frame in the centre of the card.  Using the Layered Daisies, I cut several flowers out of two shades of white card (coconut and bright white)and cut the leaves and stems out of two shades of green card.  I added yellow centres to all the flowers then assembled the flowers and glued them into the frame.  I cut the For My Friend sentiment in black and glued it beneath the frames daisies.  The card was completed with white and black mats and layers.  The finished dimensions are 7" x   9"  in size.  All for now, Sue x 


                                                        Follow my blog with Bloglovin

Thursday, 23 March 2023

Decorative Scalloped Border

Hello bloggers!  Welcome to the final post of the March Blog Launch.  This post is dedicated to showing off the decorative Scalloped Border.   This set has six dies in it so you can use parts of the border by themselves or you can put all of the pieces together and cut out the entire border.  You can also cut it into the card as I have done here or you can completely cut it out and  back it with another colour if desired.  It has a real wow to it so it is a great border to use with the Stampcuts too.  However you use it, I know you will just love the results!  Don't forget to leave a comment on this post (as well as all the previous posts) and check back on the morning of Tuesday, March 28th to see if you are a winner!  I hope that you have enjoyed the preview as much as I have!  All for now, Sue x

                                                                                
                                                           Follow my blog with Bloglovin

Wednesday, 22 March 2023

Noble Looped Ovals

Hello crafters!  The next die that I'd like to present to you is the Noble Looped Ovals.  I really love the looped edged dies so I just had to have a set of oval looped dies.  These are perfect for making a frame with a really pretty addition of the looped edges.  This die set also works well with the Noble Stitched Ovals so you can get even more use out of them both.   If this set is singing to you, then leave a comment on this post so your name will be entered into the drawing to possibly win the collection.  This is the final post for today, but there is one more die set to be showcased tomorrow morning starting at 6am.  All for now, Sue x


                                                      Follow my blog with Bloglovin

Noble Decorative Squared Rectangles

Hi bloggers!  We are now moving on to the other dies in the release.  This post is dedicated to showing the Noble Decorative Squared Rectangles.  You saw these in the last post using three dies together.  Now here they are showing a single decorative border and another chance to see those beautiful Magnolias too!   This die set will definitely be a real go-to for your cards and projects.  I love how they make a pretty frame just by cutting into the card, don't you!  If you have your eye on this set, just leave a comment on this post, it may just be the one that is drawn out as the winner!  The last post of the day will be along at 6pm.  All for now, Sue x


                                                         Follow my blog with Bloglovin

Periwinkle Stampcuts

Hello crafters!  The next die that is on offer is the Periwinkle Stampcuts.  While Periwinkles are usually seen in blues or pinks in nature, I think you can use any number of colours for this die cut.  You only need to remember when using these dies to stamp with a type of ink that will work with your colouring method.  I used a waterbased black ink to ink the dies with, then coloured them with alcohol ink pens.  If you use an ink that is the same base as the colouring method, (such as water based or alcohol ink based) it will erase your stamped line image.  Leave a comment if you want to have a chance to win this collection.  The next post is at 3pm.  All for now, Sue x

                                                     Follow my blog with Bloglovin

Magnolia Stampcuts

Hello there my crafty friends!  Welcome to the second day of the March die release blog launch.  We are starting out with the Magnolia Stampcuts.  Shown here you can see on this sample that the Magnolia branch is really pretty.  It looks amazing in other colours as well.  I love that it has a pretty curved look to it so it works really well with circles and ovals to hug the edges.  If this one is calling to you, then you just need to leave a comment on this post to be entered into the drawing to win this collection.  I will return at noon today with the next post.  I hope you will be able to come back by then!  All for now, Sue x


                                                           Follow my blog with Bloglovin

Tuesday, 21 March 2023

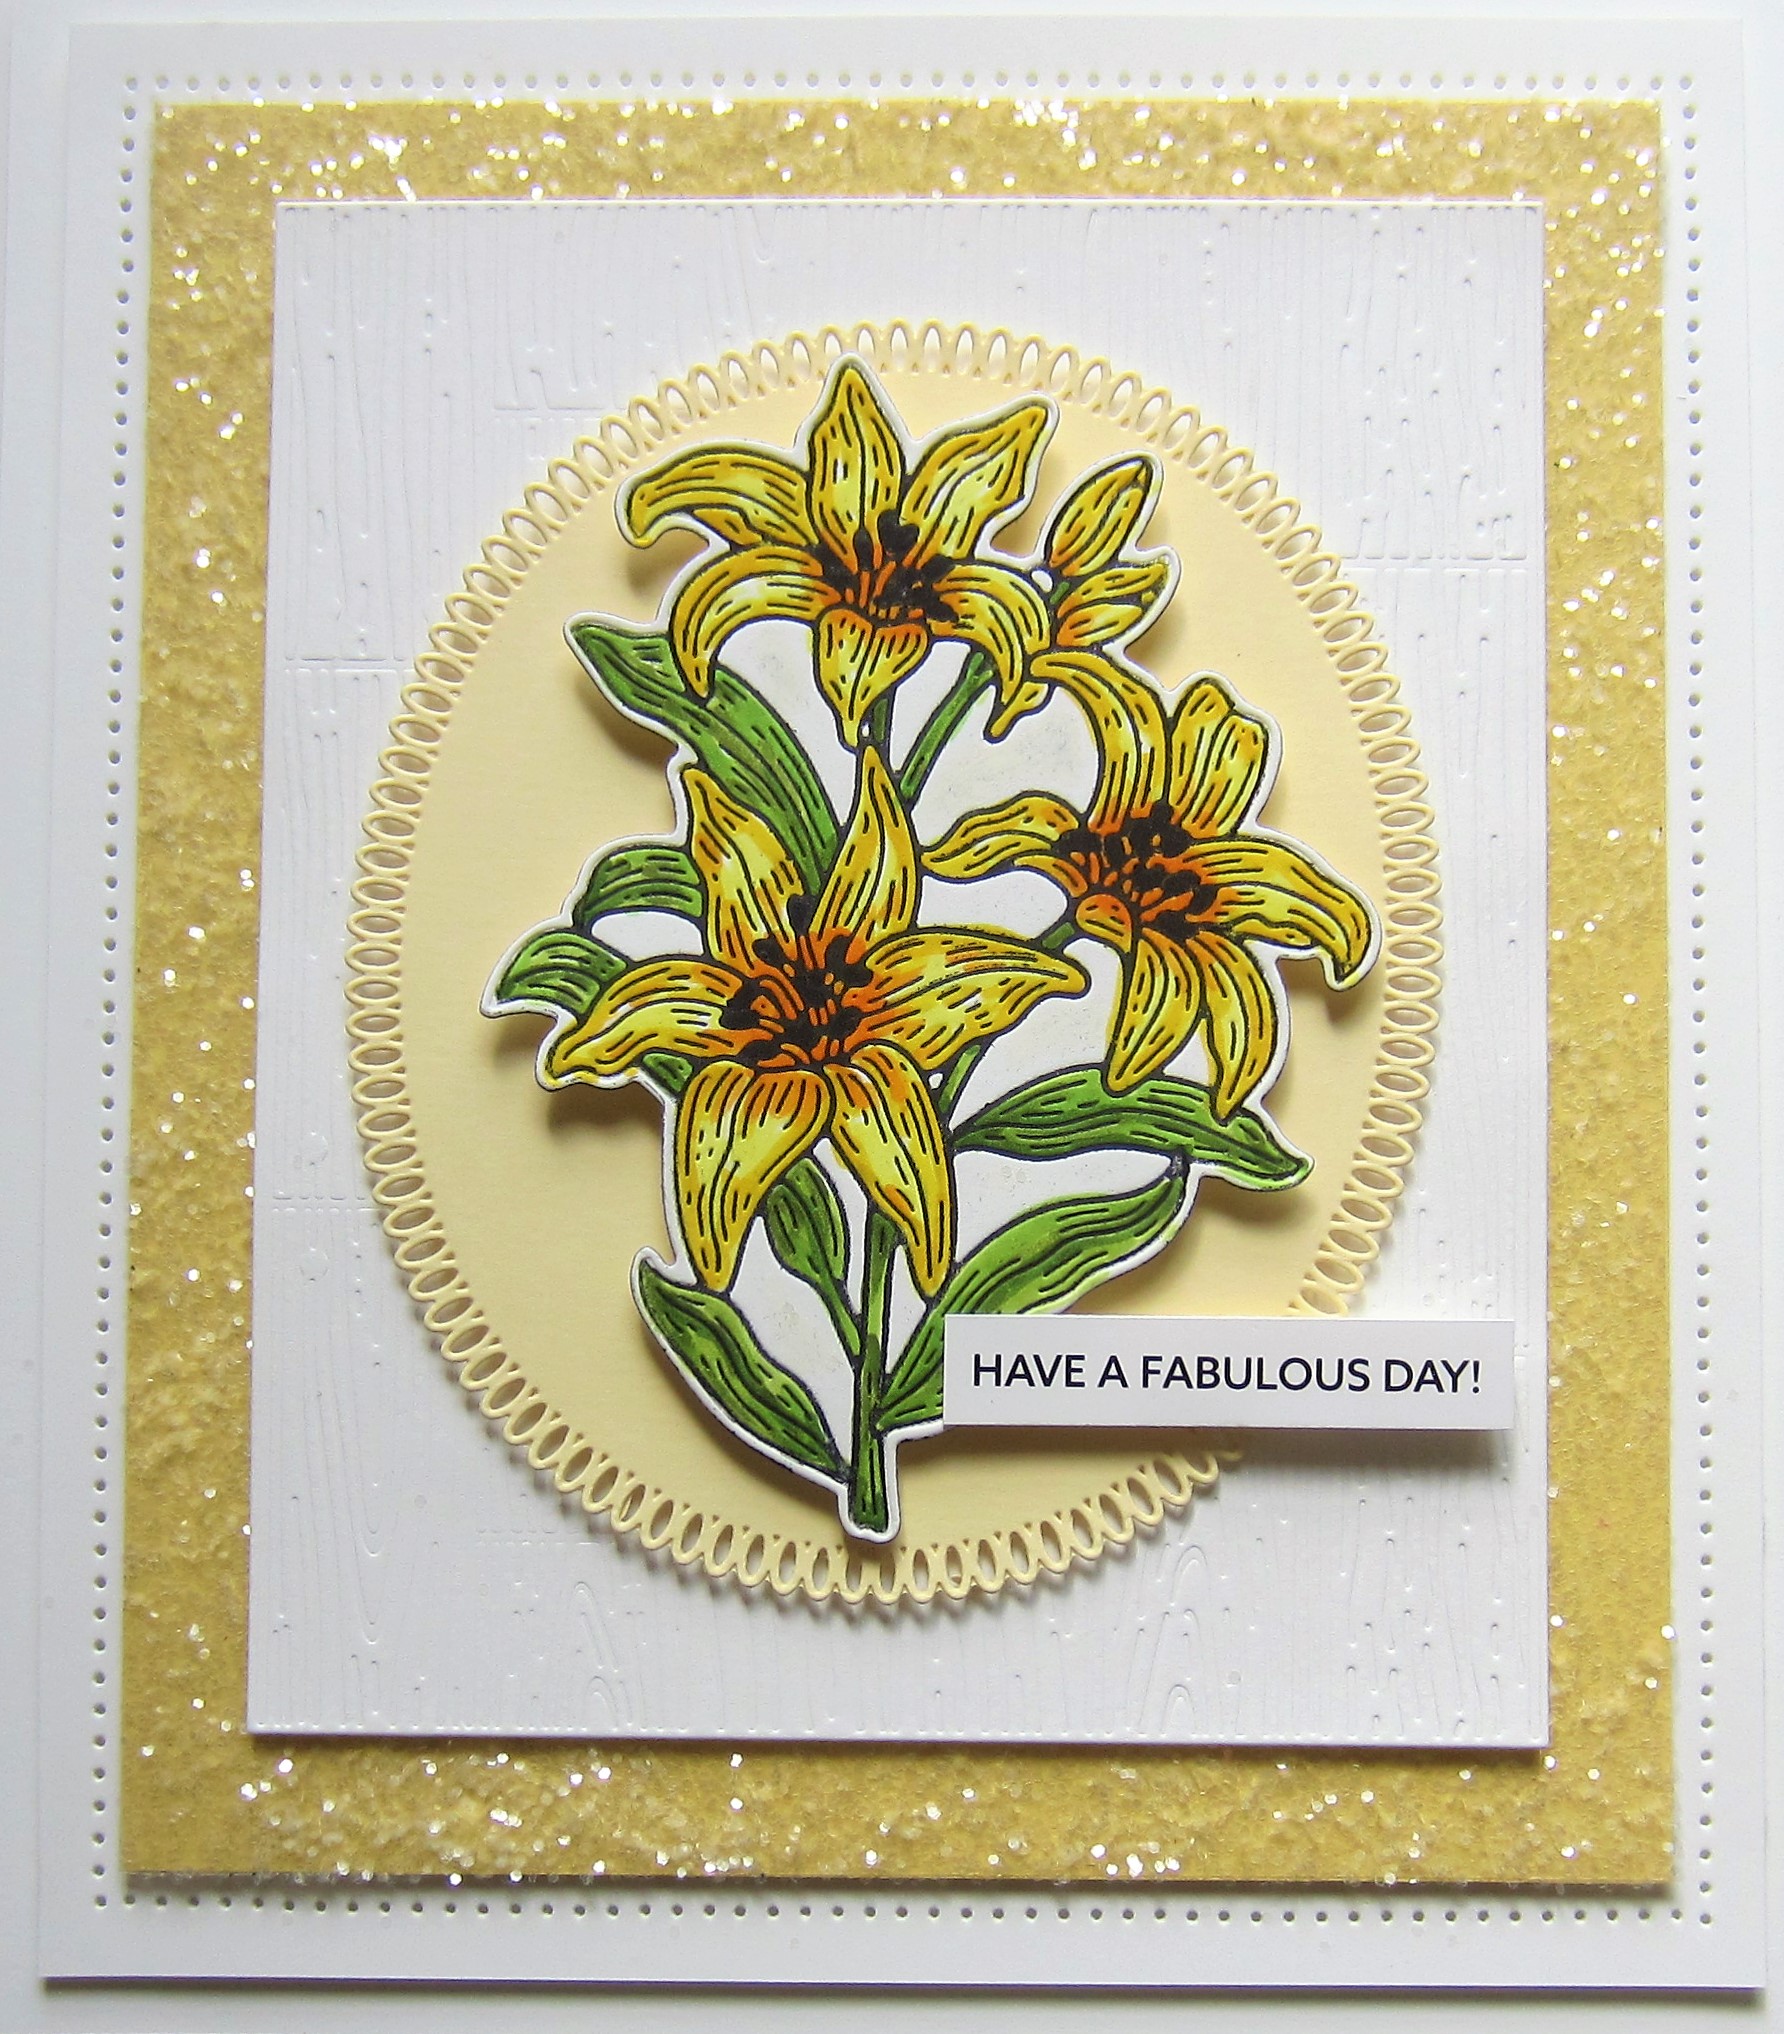
Tiger Lily Stampcuts

Hello bloggers!  How about these beautiful Tiger Lilies!  These come in a variety of colours in real life so you will see my samples in different colours as well.  I have even coloured one sample to look like Rubrum Lilies, which is one of my all time favourite flowers!  I like that these give you that bit of ability to make them look so different too.  If you are a Lily fan as I am, just leave a comment on this post and your name will be included in the drawing to win the entire collection!  Day one is complete but we do still have another full day and a bit more coming your way.  I shall return at 6am to start the second day of this launch.  All for now, Sue x


                                                       Follow my blog with Bloglovin

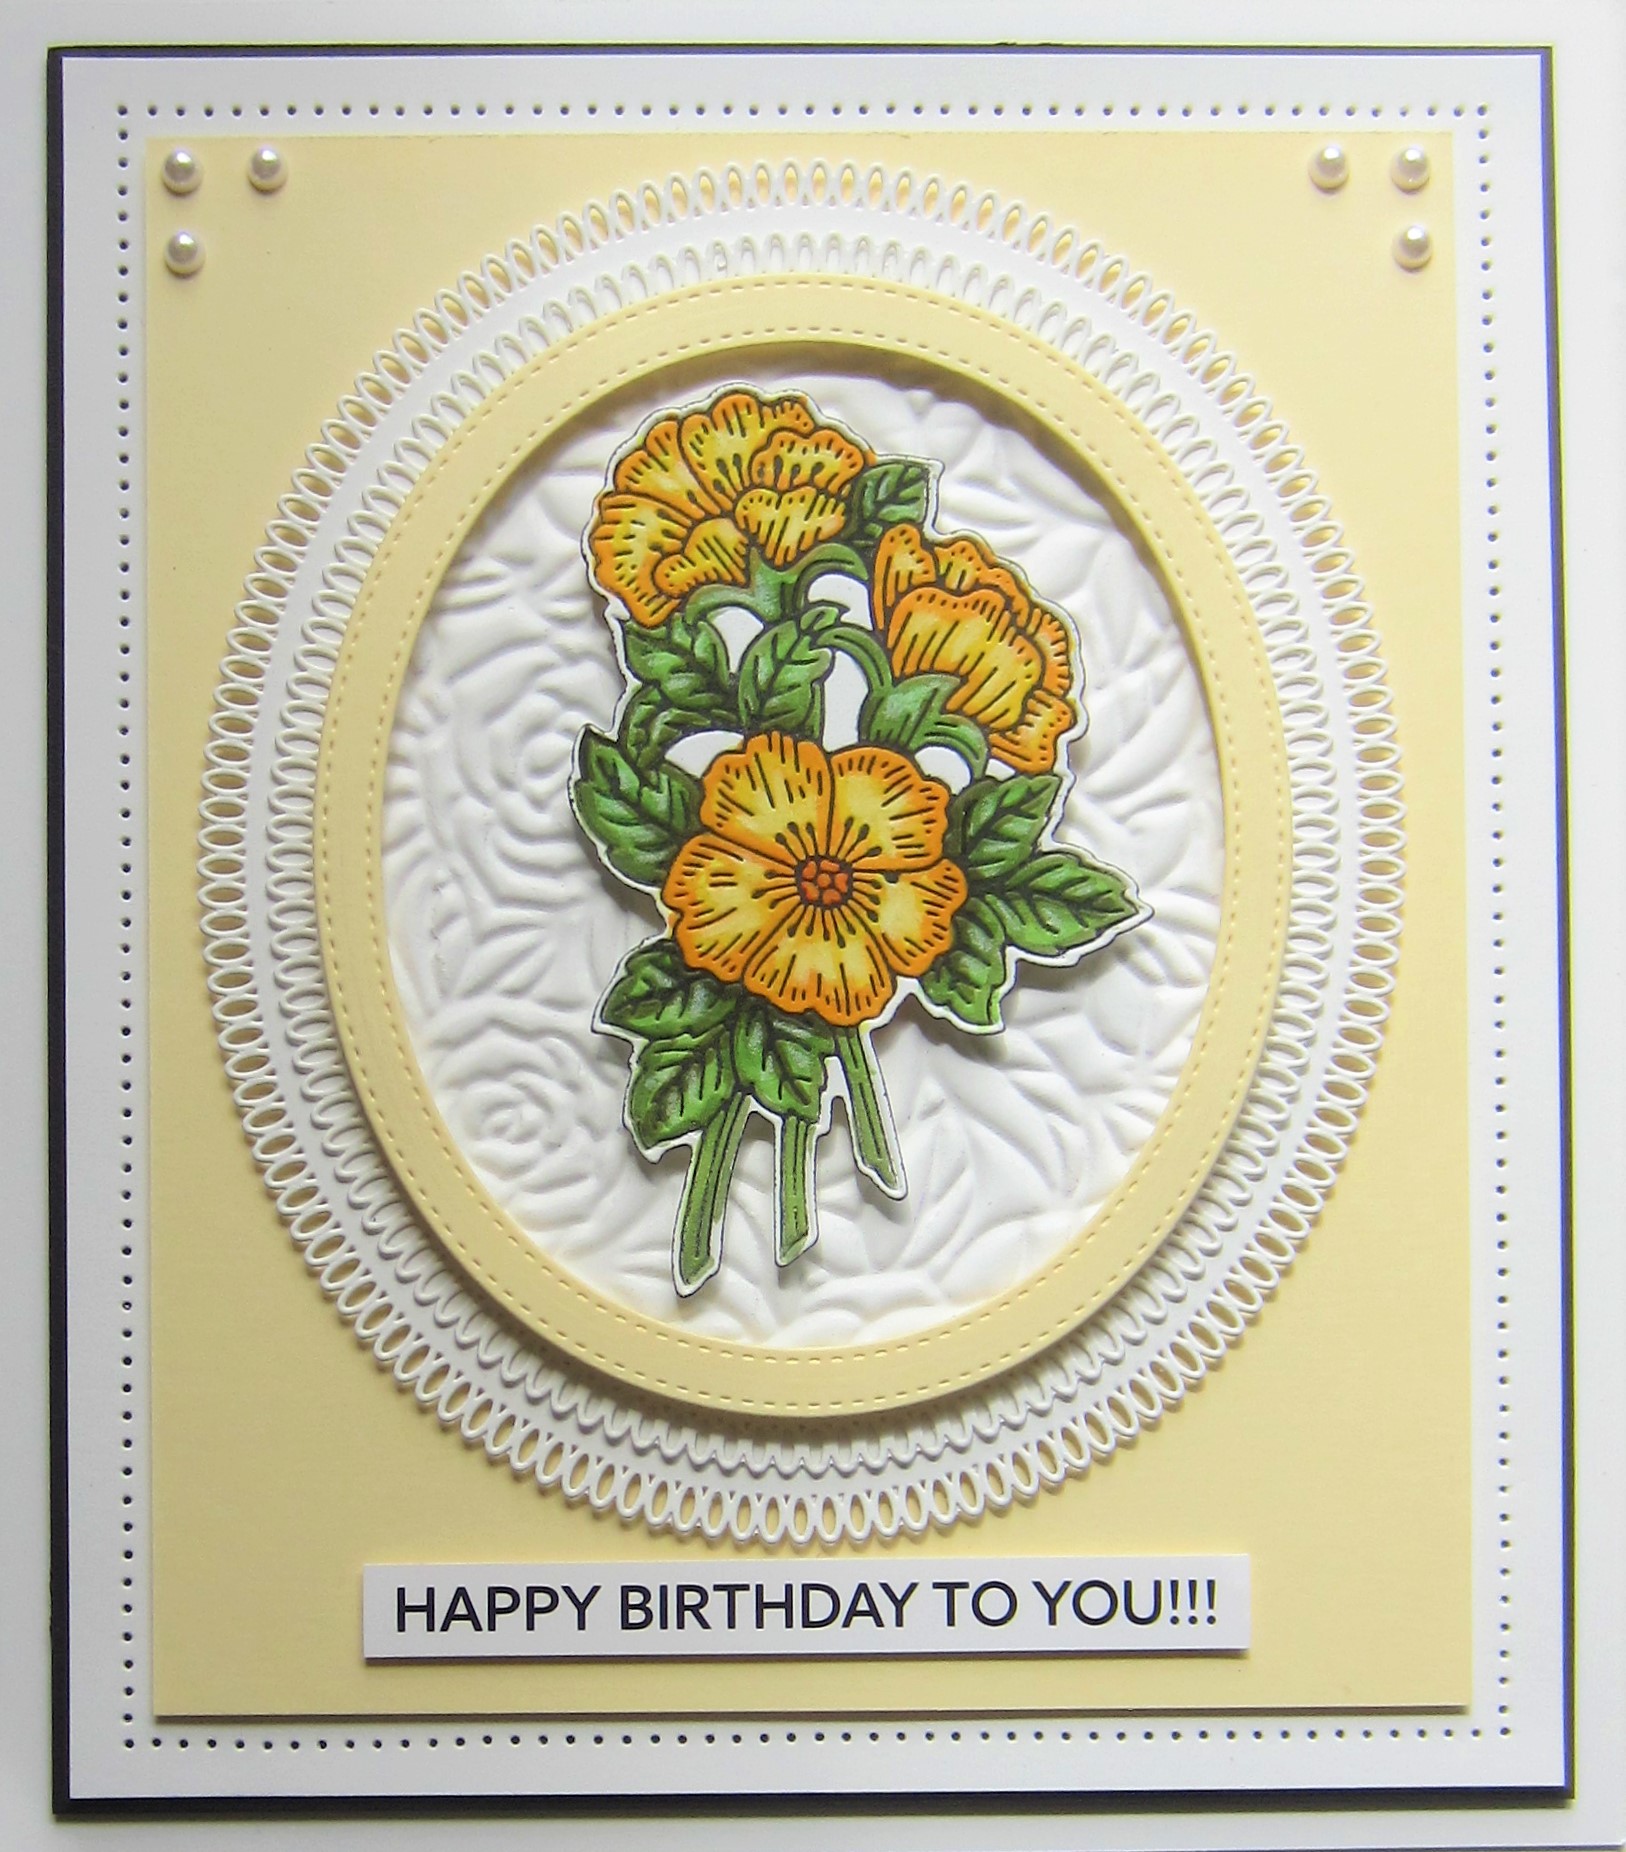
Petunia Stampcuts

Hello there my crafty friends!  The next die that we are showcasing is the Petunia Stampcuts.  This is another flower that looks gorgeous coloured in any shade.  These flowers are very easy to colour too as the shading is already on the dies so you just need to colour those areas a bit deeper to bring out all the details.  I think these will really put a smile on any recipients face, don't you?  Let me know what you think in your comments, I would love to know.  We have one final post for today and that will be on the blog today at 6pm.  Please pop back by to have a peek if you are able!  ll for now, Sue x


                                                      Follow my blog with Bloglovin

Old Rose Stampcuts

Hi crafters!  The next die on offer is the Old Rose Stampcuts.  These are really beautiful roses (what I call cabbage roses), but they look amazing done in just about any colour.  Ink the die, die cut it and you have a beatiful image ready to colour and already cut out the exact size.  These stampcuts are so easy and they do really save a lot of time having to line up the images and die cut them separately.  I would love to know what you think of them so far, just leave your comment on this post.  The next post will be online at 3pm.  I hope to see you back here then!  All for now, Sue x


                                                       Follow my blog with Bloglovin

Iris Stampcuts

Hello bloggers!  Welcome to the first day of the Mach die release blog launch.  We will be showcasing nine new dies during this release.  I will be giving away one entire set of the March die collection to one lucky winner based on a drawing I will do from all the comments left on the posts.  Please feel free to leave a comment on each and every post, but only one per post please.  If you can make your name memorable in some way too, that would be very helpful as just a first name is sometimes too difficult to tell who the winner is.  Please add either your last name or initial or add some funny alias so there is no problem telling who the winner is.  I will post the winner the morning of March 28th.
We are starting out with the Iris Stampcuts for this first post.  I have long been a fan of Iris so they just had to be included.  These dies are designed to be inked and then run through your die cutting machine so you get an inked image and a matching die cut in one pass!  Leave your comment on this post and meet me back here at noon for the next post.  All for now, Sue x


                                                         Follow my blog with Bloglovin

Monday, 20 March 2023

Good Luck

Hello crafters!  I covered a piece of white card with a sticky adhesive sheet and embossed it with the Floral Brocade embossing folder.  I 
peeled off the backing paper and coated it with Frosted Sparkle Glitterbitz.  I cut the Wrapped Pearl Frame in white and added it to the backing die which I cut in white.  I used the Layered Zinnias and cut them in two shades of purple and peach and assembled them. I added clear micro beads to the flower centres.   I cut the stems in two shades of green and glued the flowers to them.  I arranged the flowers inside the pearl frame and glued them to the frame.  I cut the Good Luck sentiment from a Wordie sheet and added it with mounting foam.  I added pearls to the frame as accents.  The card was completed with white mats and layers.  The finished dimensions are 7"  x  9 1/4"  in size.  

I thought I would give you a nit of an advance notice that tomorrow is the March Die Release Blog Launch.  We will be kicking it off right here at 6am.  Hope to see you then!!  All for now, Sue x


                                                          Follow my blog with Bloglovin

Sunday, 19 March 2023

Easter Wishes

Good Sunday morning all!  I thought I would show a slightly different way to use the Easter Basket.  I cut the Easter Basket out of Chestnut Brown card and wove the extra pieces through the basket slats and cut off the handle.  I added a purple bow to the basket from the Easter Basket die set.  Using the Easter Eggs & Flowers die set, I cut the flowers out of five colours.  I added them to the stems and leaves cut in green.  I arranged the flowers then added the Basket to the card.  I matted it with purple card then added it to a larger piece of white card.  I cut the Easter Wishes sentiment in purple then added the sentiment to a white shadow backing piece and attached it above the basket.  The card was completed with white mats and layers.  The finished dimensions are 7"  x  7 1/4"  in size.  All for now, Sue x


                                                        Follow my blog with Bloglovin