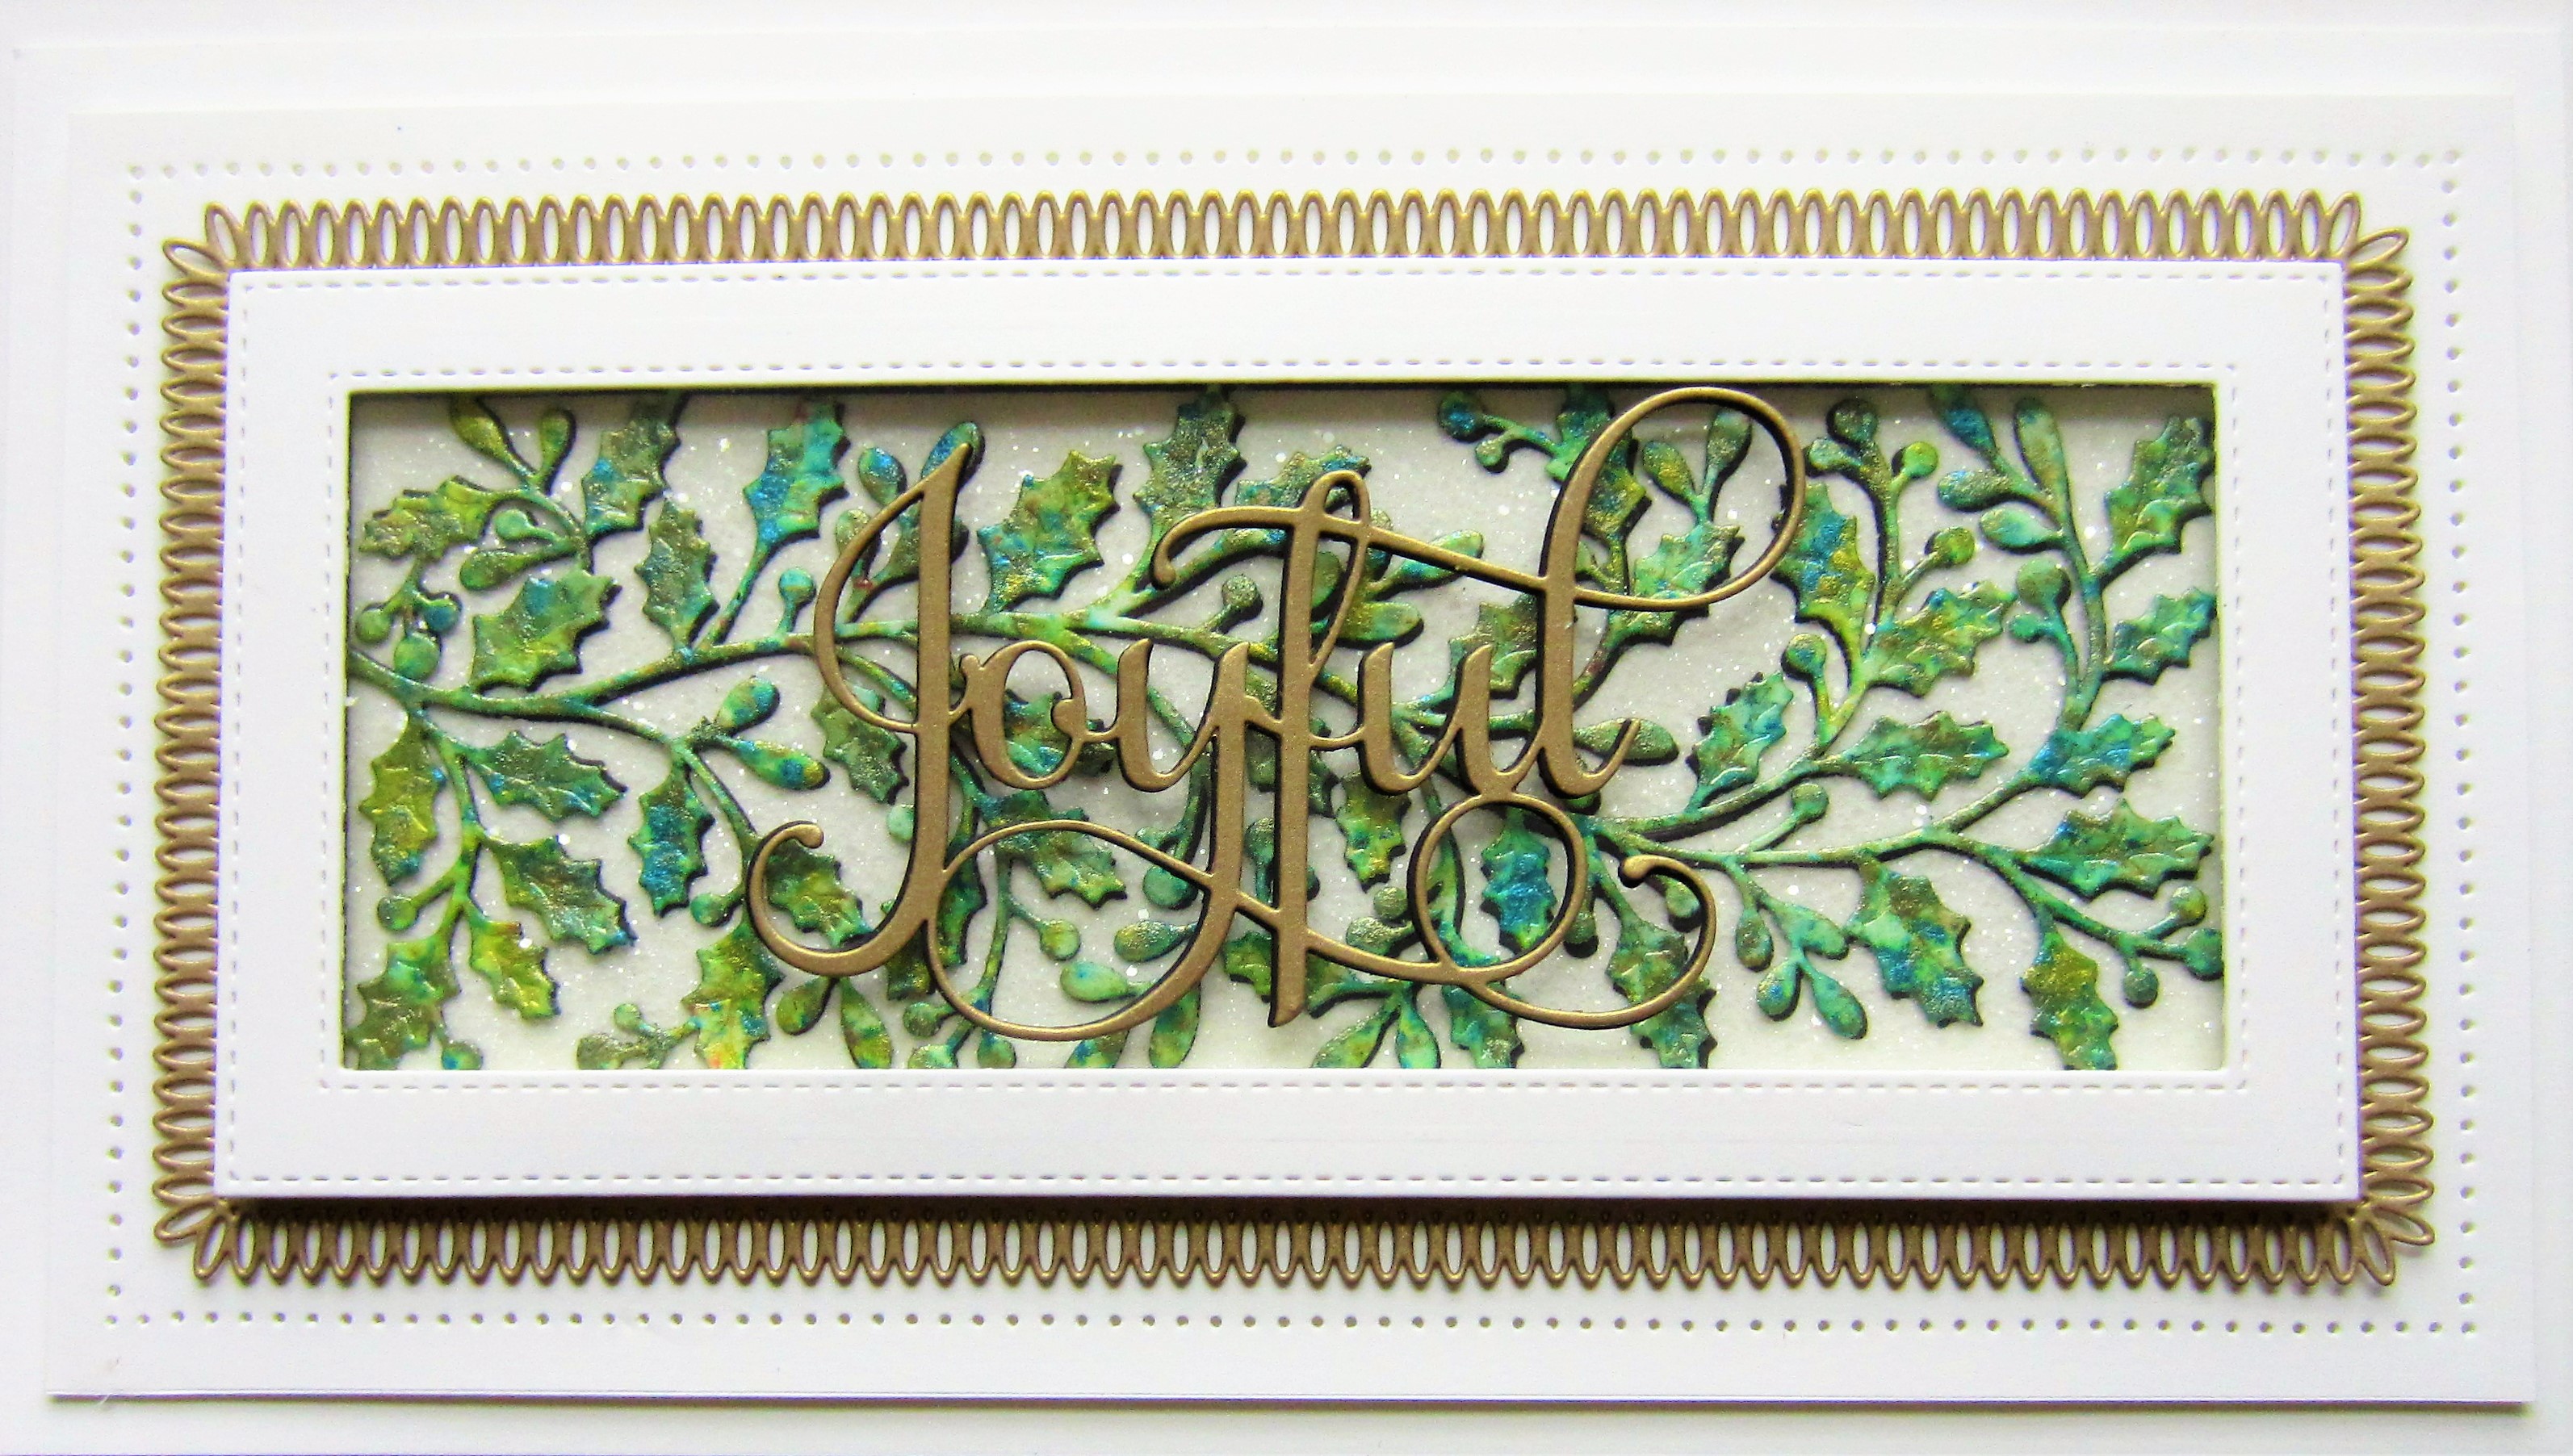
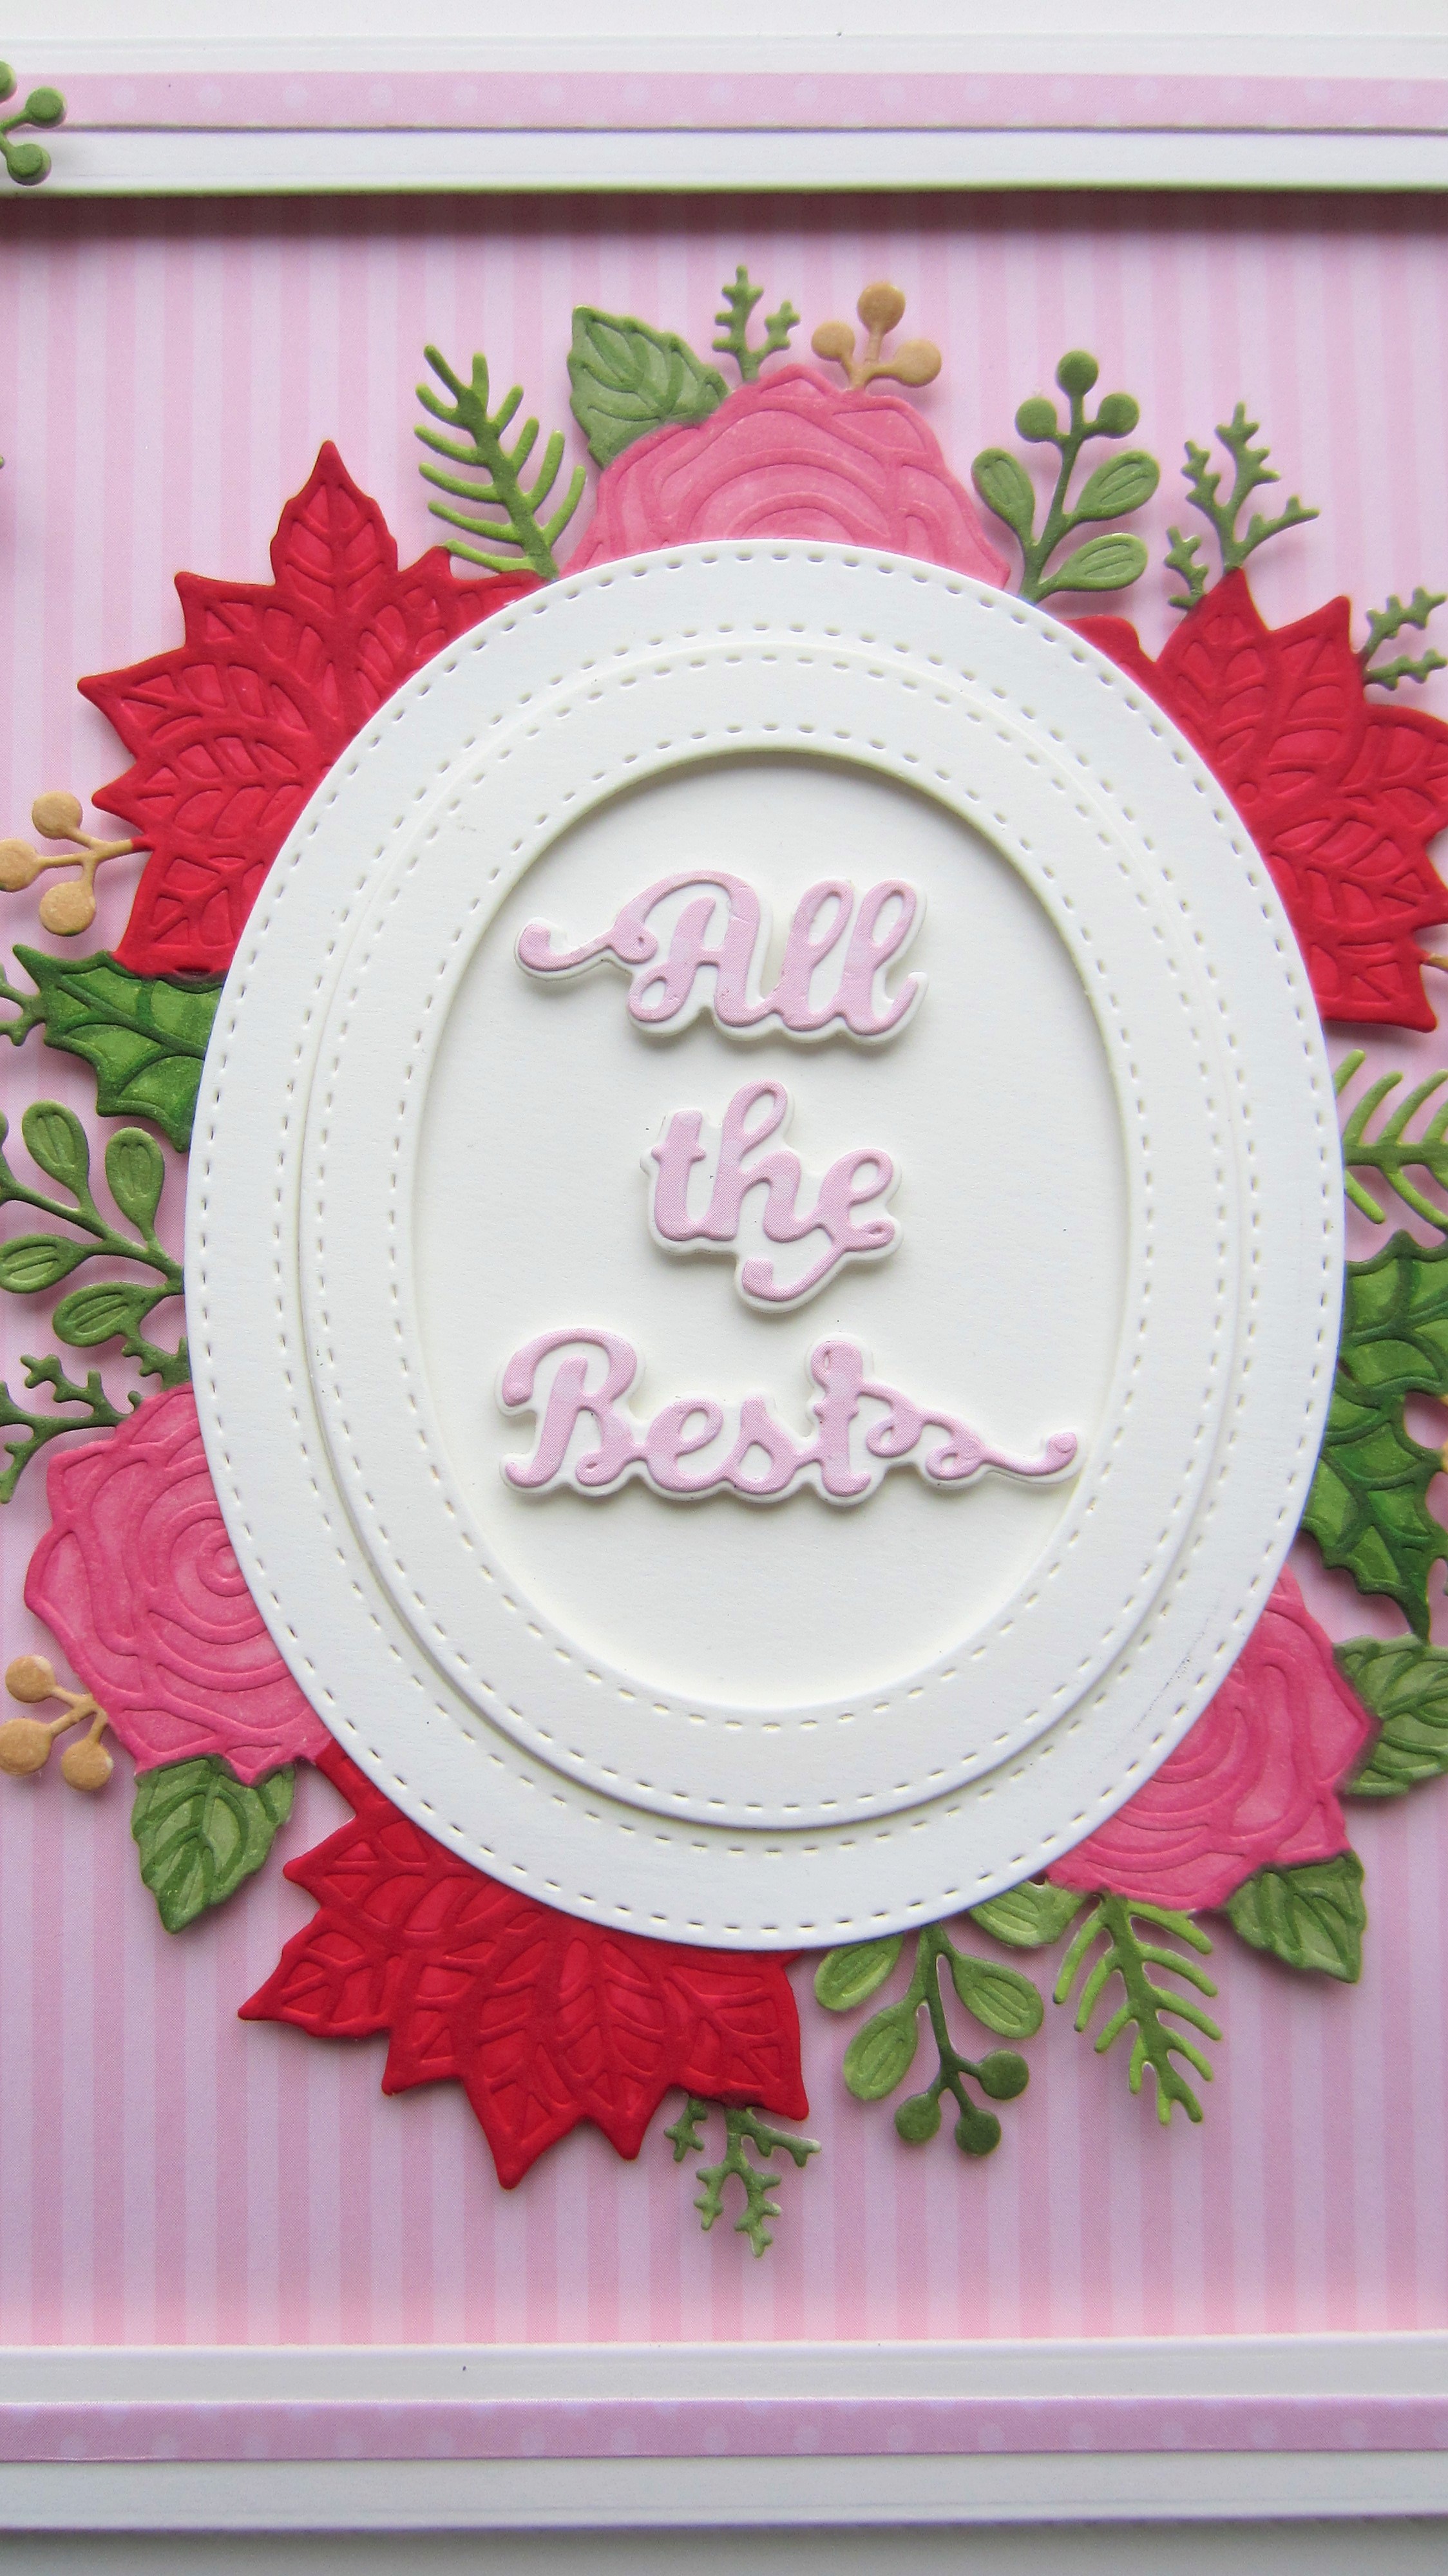
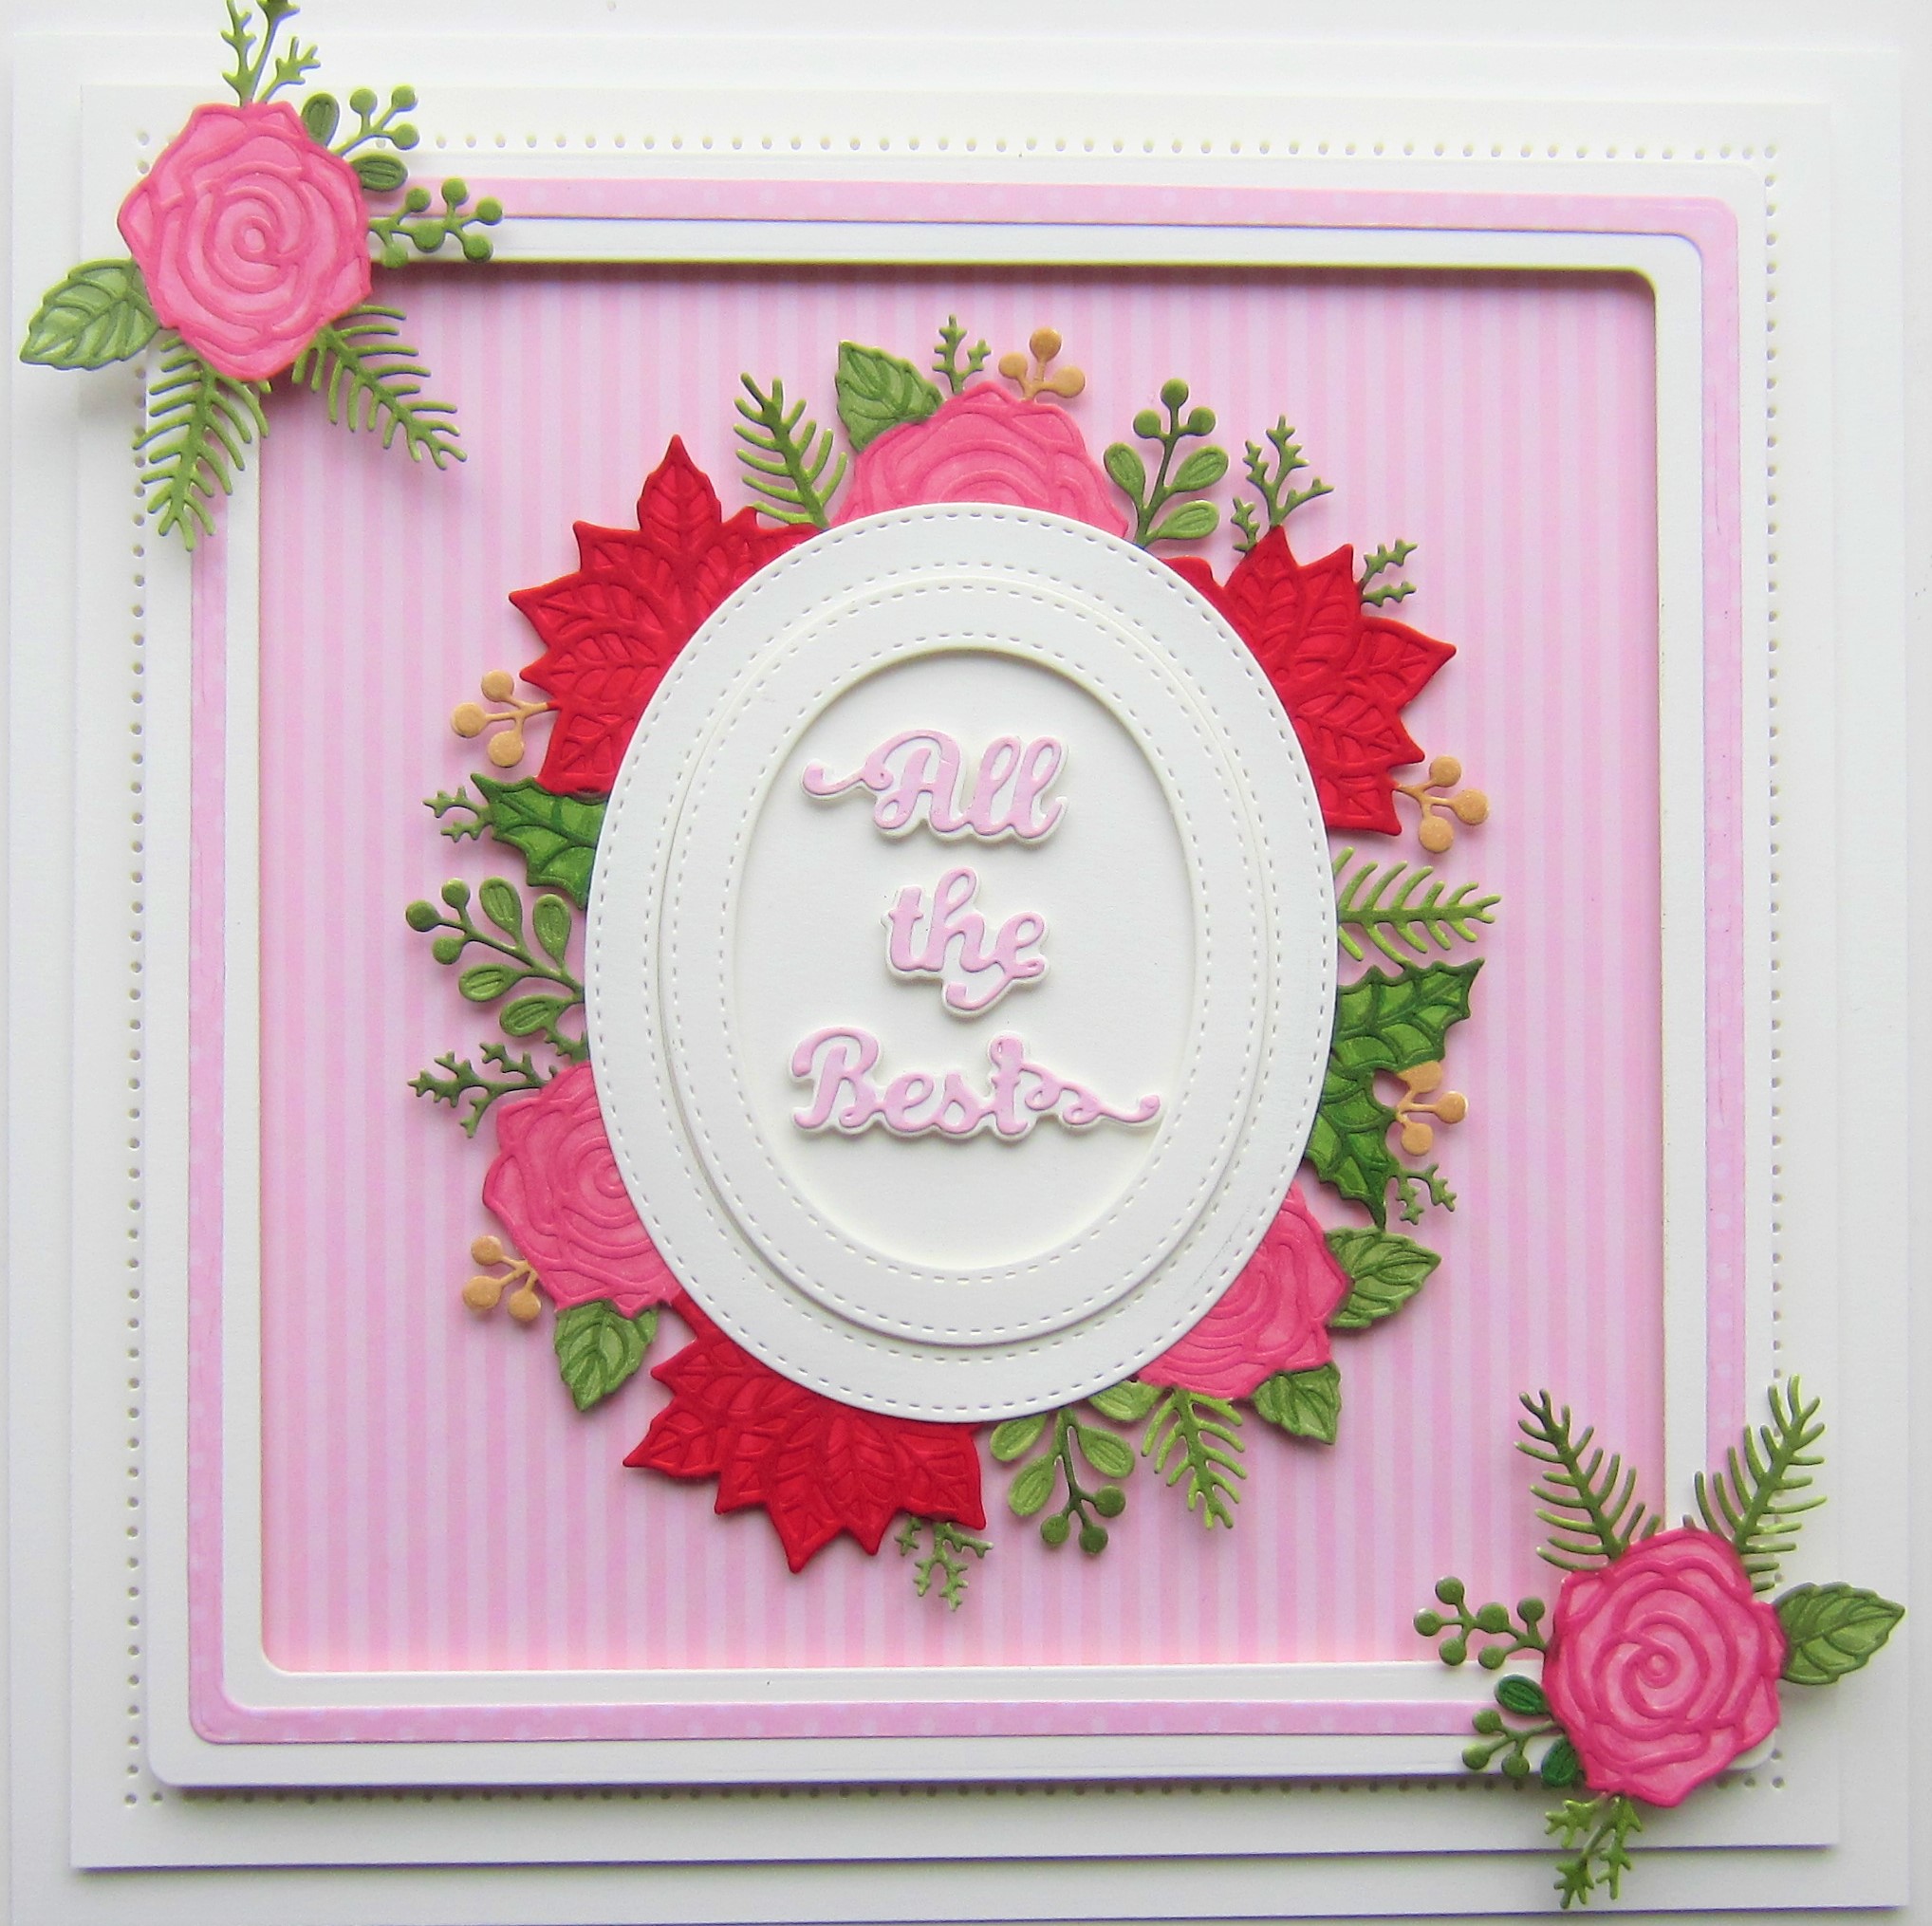
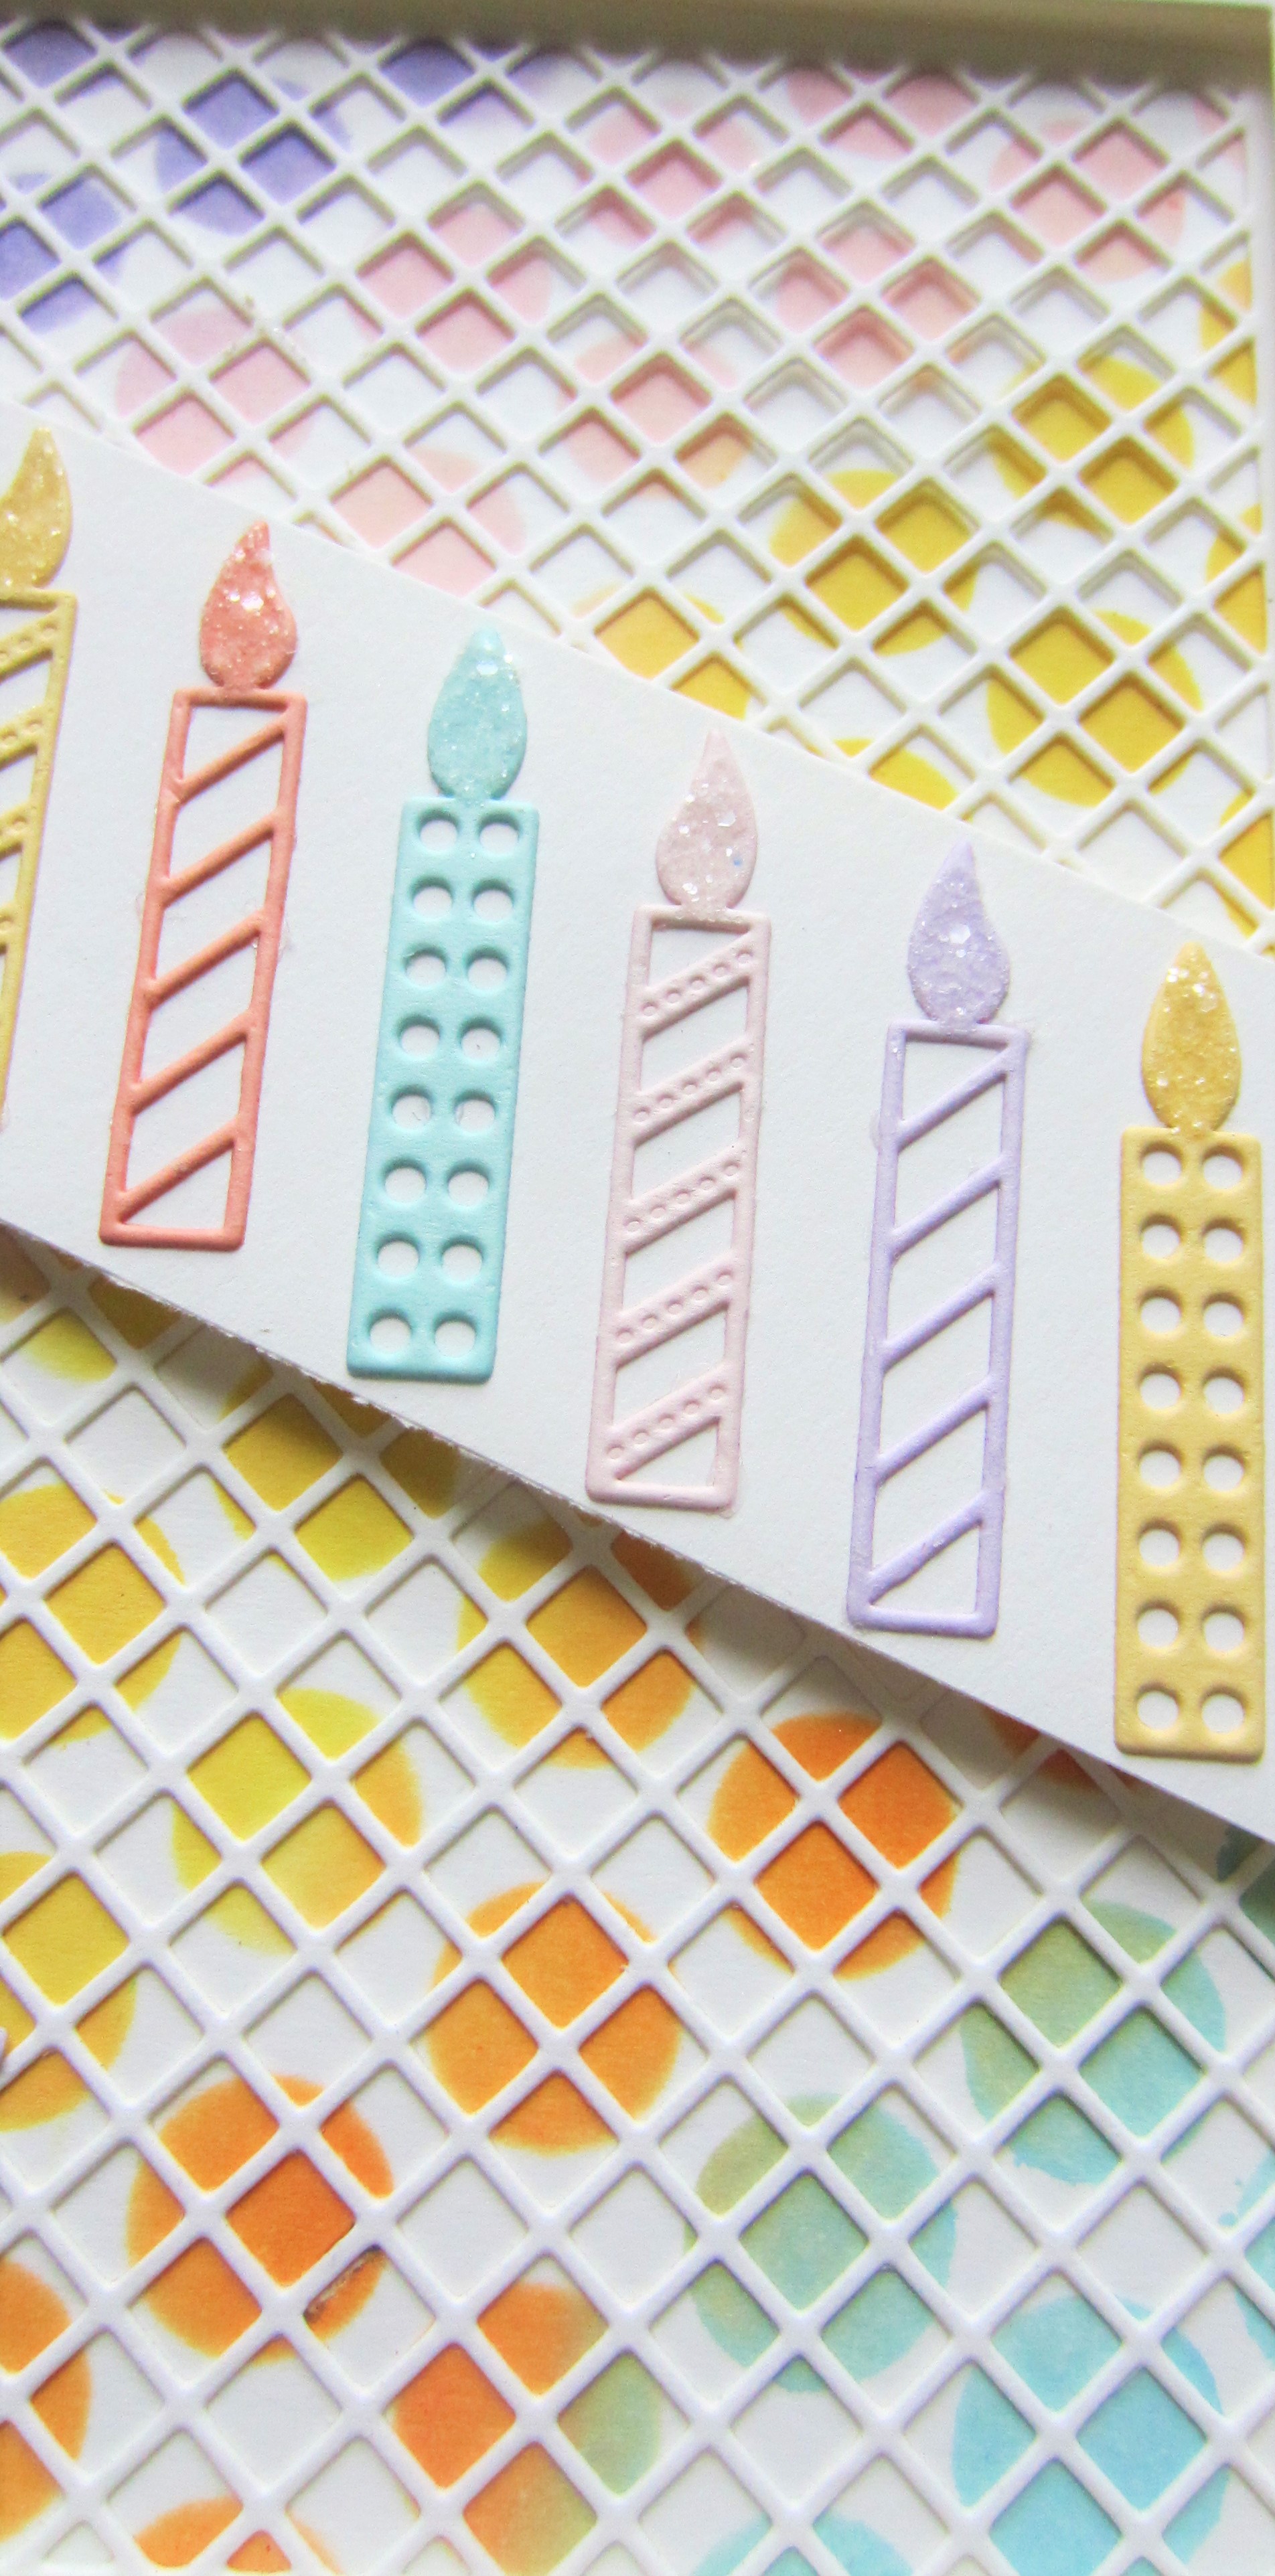
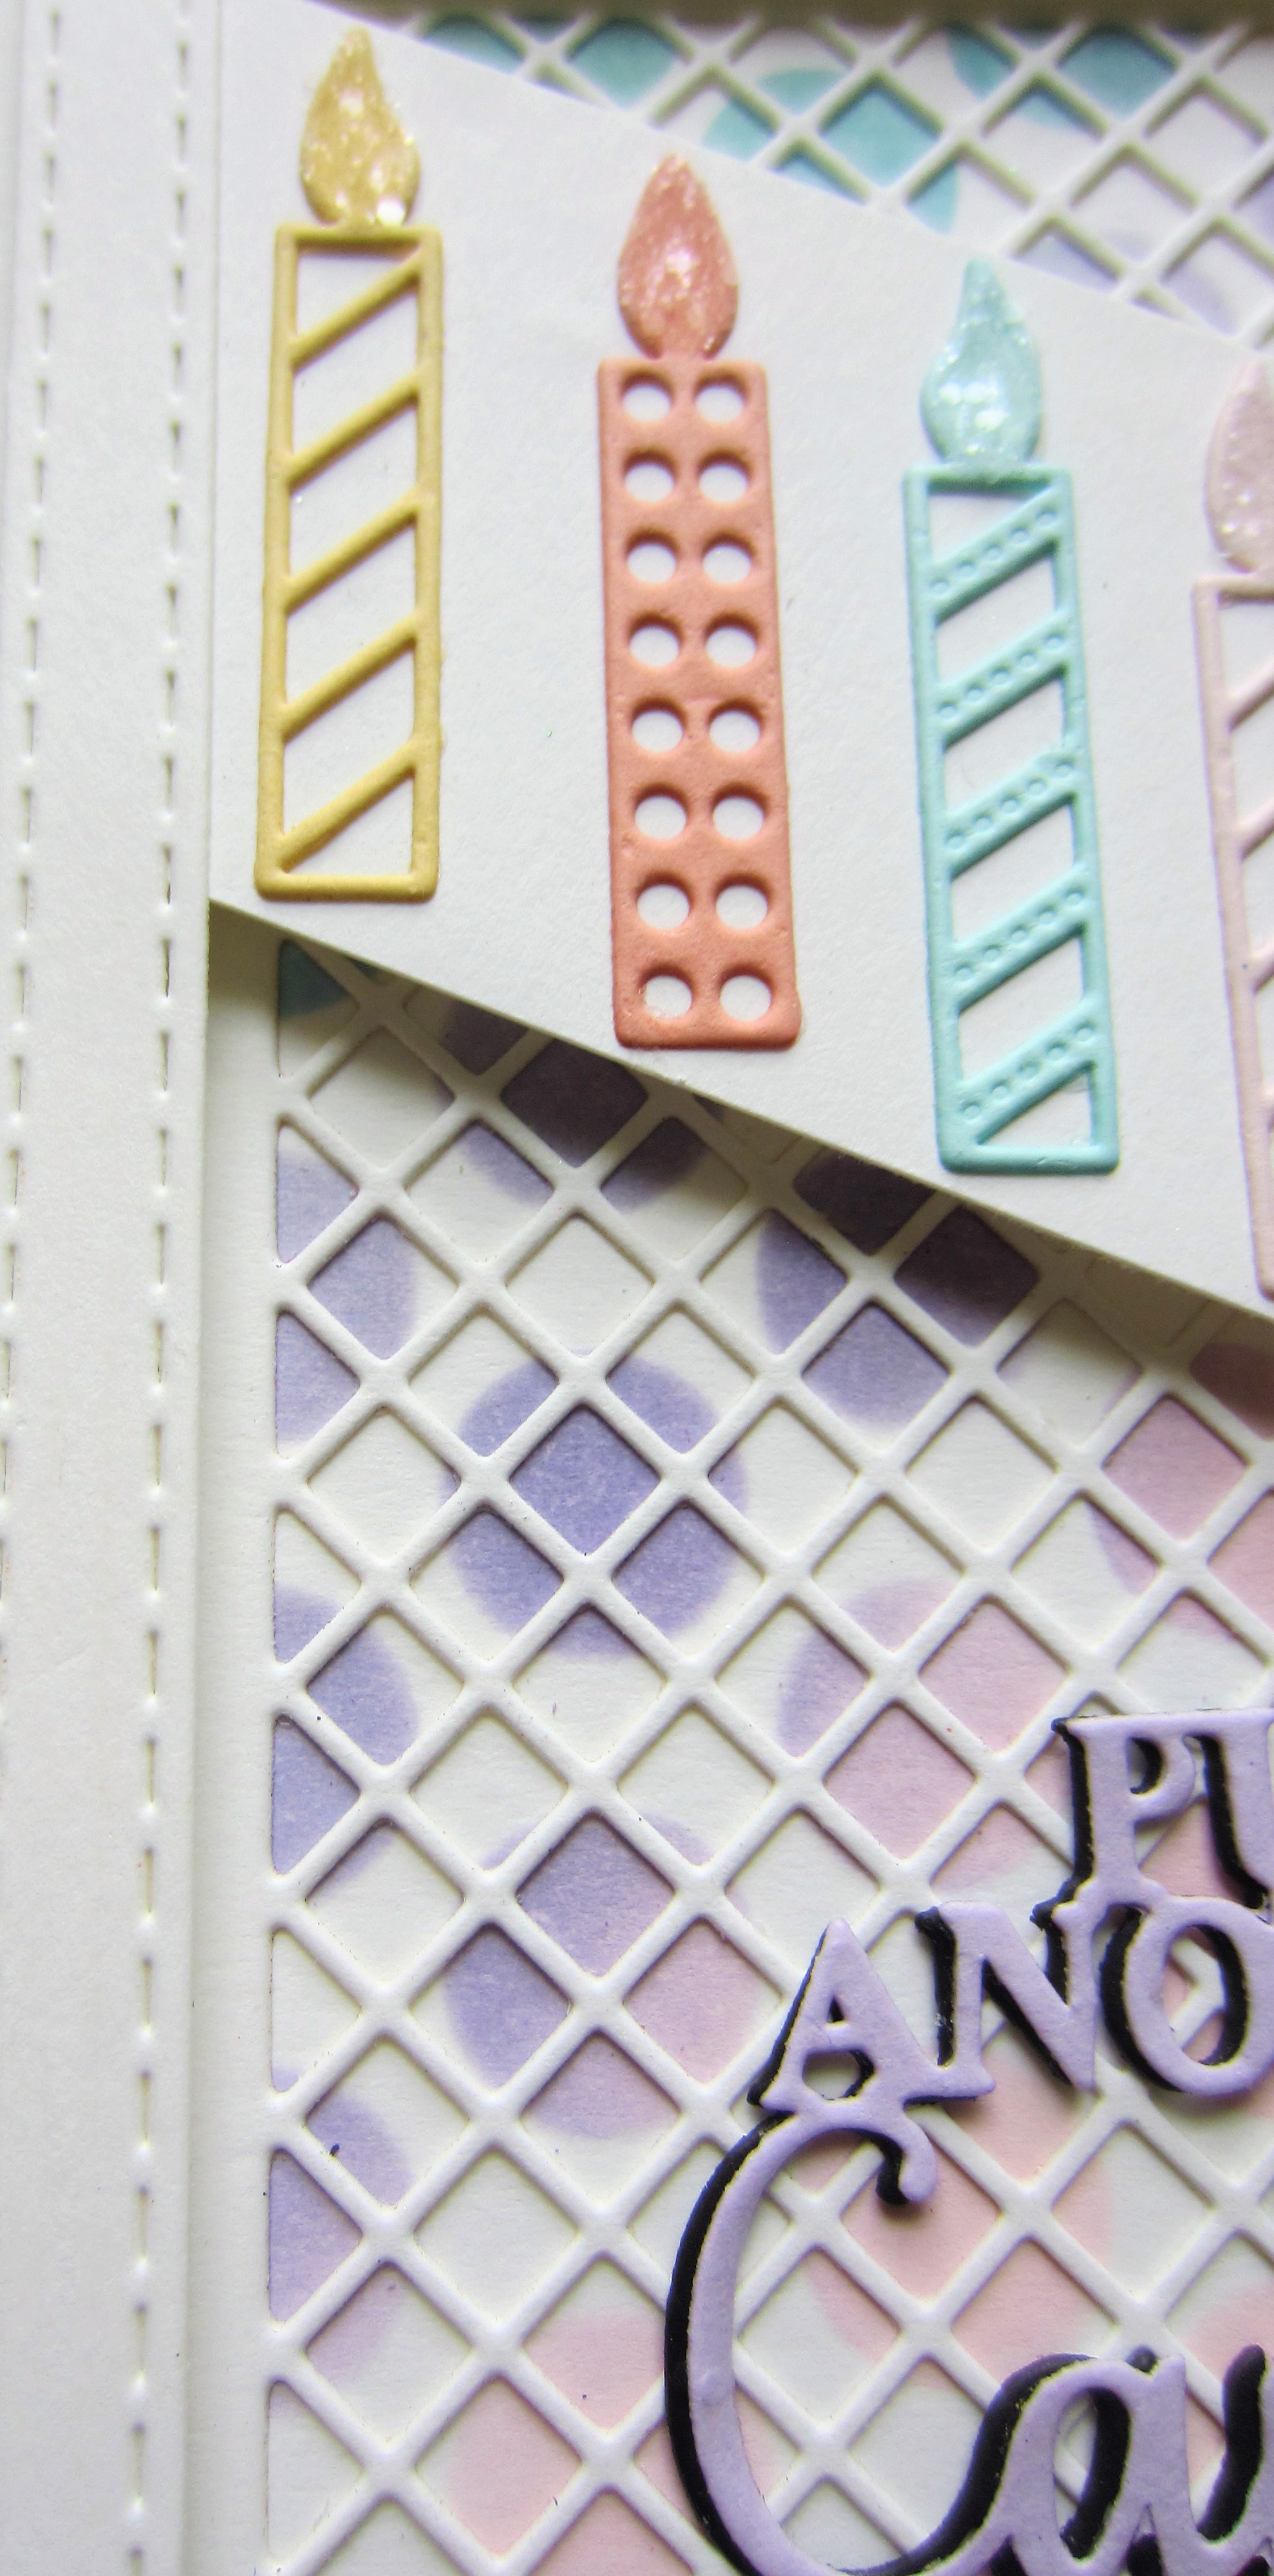
Hello bloggers! This is the third day of the rest of the Christmas cards. I hope you are finding a few that are to your liking. If there are any that you want some more info on, please let me know. All for now, Sue x
Follow my blog with Bloglovin
Hi bloggers! We are getting closer and closer to the big day. Here are several more Christmas cards for you to have a look at today. All for now, Sue x
Hello crafters! On the run up to Christmas every year, I post all the Christmas cards that didn't quite get their day on the blog. Here is the first day's worth for your perusal. I would love to know if you have a favourite among them! All for now, Sue x


Hello bloggers! I cut the Swirly Scrolls background twice, once in white and once in black. I shadowed the white one with the black die cut. I added an Azure Blue backing to it. Next I used the Double Stitched Rectangles and cut the centre out of the background. I added mounting foam to the back of it then attached it to a piece of white card. I added a thin white frame around the aperture using the Double Stitched Rectangles. I cut the Noble Missing You Sentiment in black and glued it in the frame. I used the Pierced Layered Flower die set and cut two flowers in white and added Azure Blue centres to both of them. I seated them in the lower corner. The card was completed with white and black mats and layers. The finished dimensions are 6 1/2" x 8 1/2" in size. All for now, Sue x
Hello all! This card is a good example of using Christmas dies to make a non Christmas sort of card. I selected a piece of the pink and white stripe paper from the Dots 'N Stripes Paper Pad. Using the Round Corner Squares, I cut a white fame to go over the striped background. I used a pie e of the dotty pink paper and cut a thin frame out of it. I glued it on top of the white frame as an accent. I cut the Oval Wreath Frame out of white card. I used Distress inks to colour the greenery and flowers. I cut a multi-layered frame in white for the centre of the card using the Double Stitched Ovals. I added it with mounting foam, then cut the All The Best sentiment out of pale pink. I used the shadow backing die and added it to the centre of the frame. I made two corner pieces with the extra flower, inked them then added them in opposite corners. The card was completed with white mats and layers. The finished dimensions are 8" x 8" in size. All for now, Sue x