Thursday, 25 March 2021

Get Well Soon

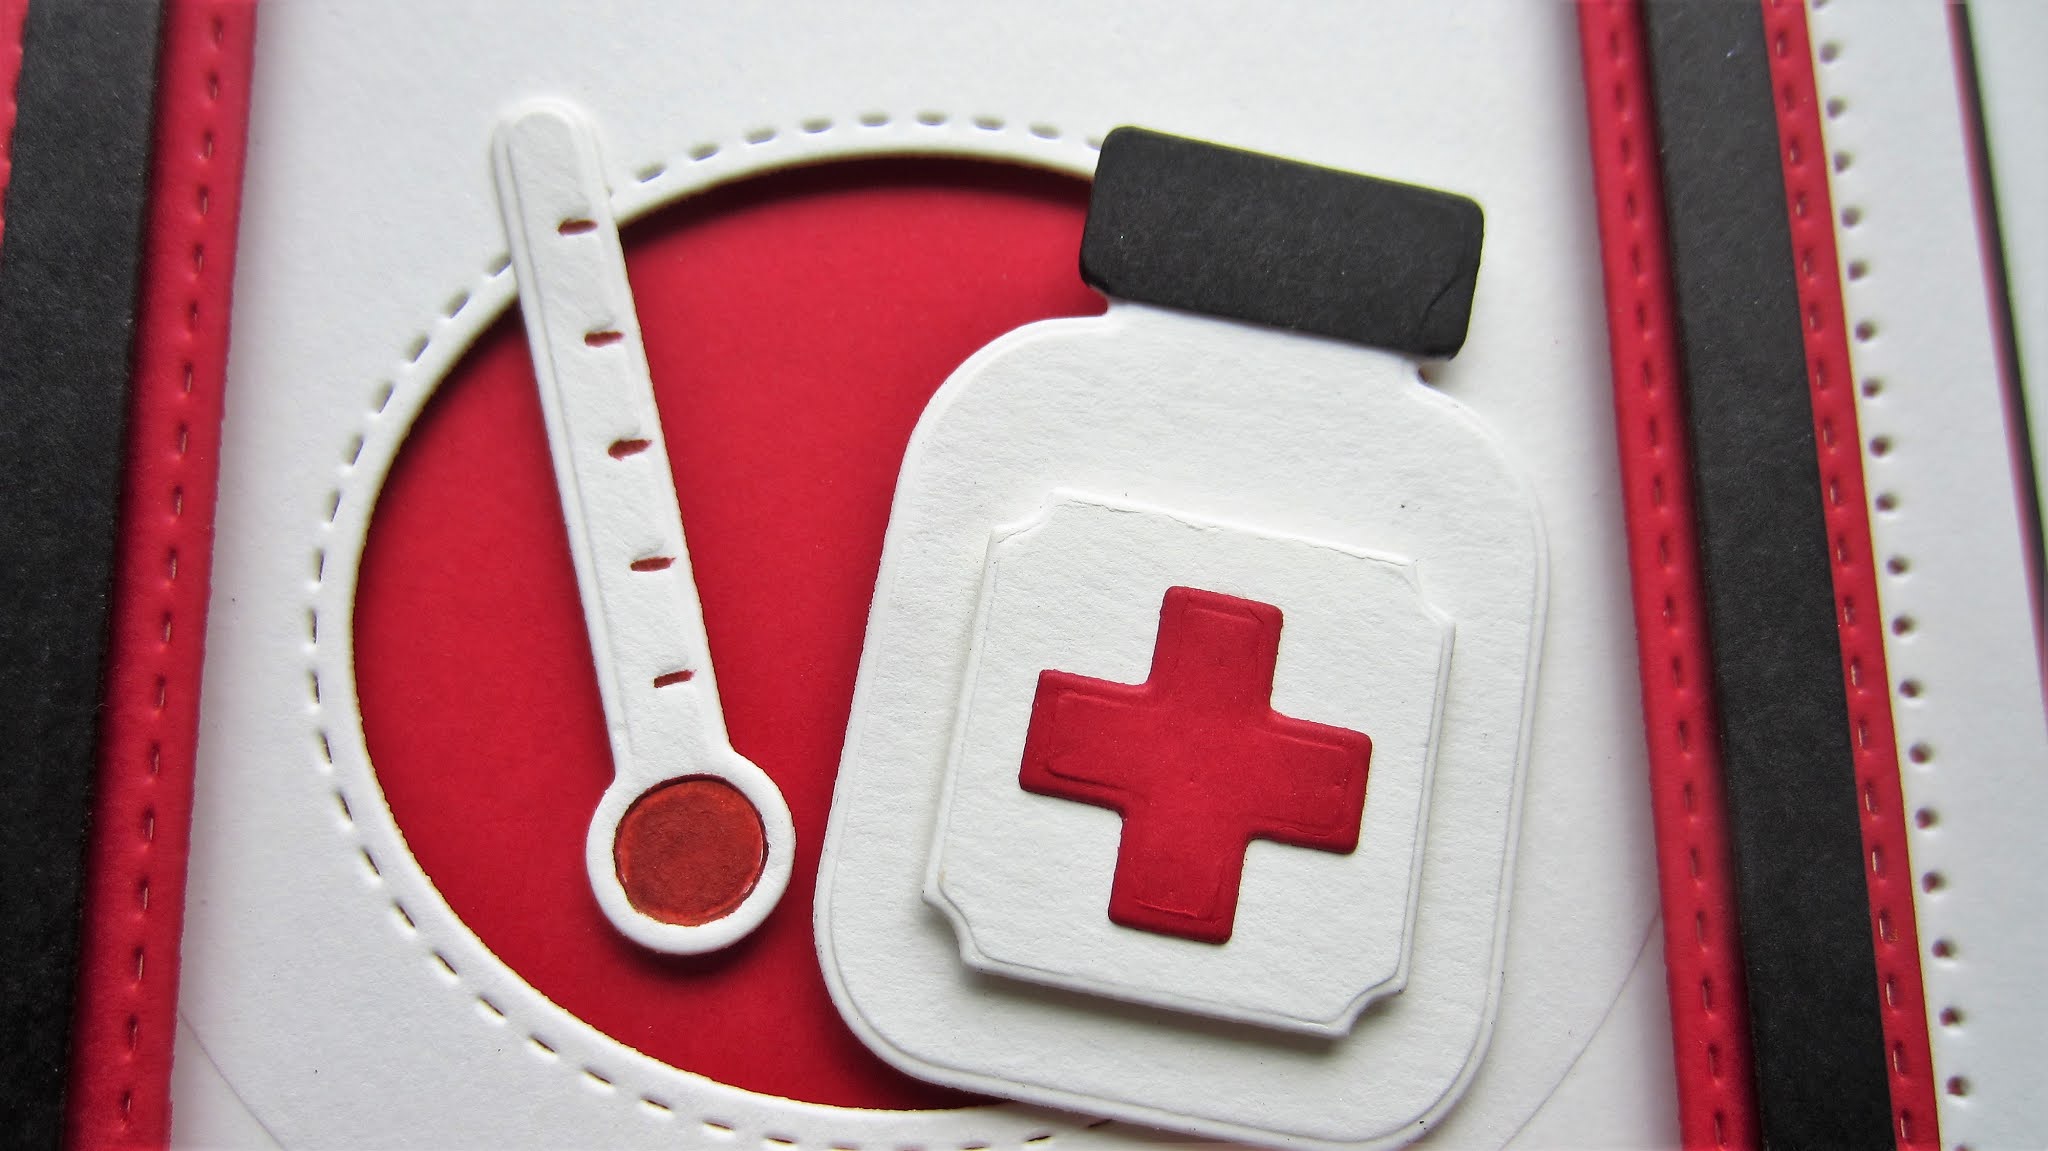
Hi there my crafty friends!  I started today;s get well card by cutting the Slimline Stitched Oval Aperture Trio in white.  I added mounting foam to the back then added a piece of ruby red card behind it.  Using the Slimline Stitched Rectangle Frame die set, I made a multi-layered frame with a wider ruby red base and a thin black frame on top which was cut out of the Slimline Essential dies.  Using the Feel Better Soon die set, I cut the band aids out of taupe card (they really do look like real band aids, don't they?) and added them to the upper aperture.  On the lower aperture, I added a thermometer and a pill bottle.  I used the Stacked Get Well Soon cut twice out of white card and then added a black shadow behind and glued it to the centre opening.  The card was completed with white, red and black mats and layers.  The finished dimensions are 5"  x  9 1/2" in size.  All for now, Sue x


                                                       Follow my blog with Bloglovin

Wednesday, 24 March 2021

Because

Hi crafters!   I thought I would share another of the Big Bold Word samples today.  I started by cutting the Because die out of black card and gluing it to a piece of clear acetate.  Working from the back side of the acetate, I used Cosmic Shimmer dries clear glue and filled in the letters one at a time, then sprinkled on Polish Silk Glitter and tapped it off.   Where the letters overlap in the die, I mixed a little bit of each of the colours of glitter used n both letters and added it to those areas.  You need to start with the darkest colour of glitter first and work your way to the lightest colour.  That way if the glitter gets on the back of another colour, it won't change the look of it.  Once you have filled in all the letters, set it aside to dry.  All of the white glue will turn clear and you will see the colours when it is completely dry.  I made a multi-layered white frame out of the Double Stitched Rectangles and added it with mounting foam over the acetate.  I used a little bit of mounting foam behind the letters to help keep them from sagging and added a piece of white card behind them.  The card was completed with white and black mats and layers.    The finished dimensions are       6 1/2"  x  7 3/4"  in size.  All for now, Sue x


                                                          Follow my blog with Bloglovin

Tuesday, 23 March 2021

Thanks

Hello crafters!  I have been really enjoying this technique that uses texture paste and Pixie Sparkles!  I think you will see many more of them to come!  I started with a piece of white card and taped the  Woven Rope stencil to it.  I used a plastic palette knife and pulled Clear Texture Paste through it.  While the mask was still in place, I tapped Beyond Blue and Zesty Lime Pixie Sparkles all over it.  I removed the mask and set it aside to dry thoroughly.  Once dry, I added a white frame cut from the Slimline Stitched Rectangle Frames.  I cut three of the Petal Pocket Flowers out of white card with a sticky adhesive sheet added to it.  I coated the flowers with Frosted Sparkle Glitterbitz then assembled them and added them to the bottom edge of the card.  I used a bit of Pixie Sparkled card made with the same colours and cut the centres of the flowers out of it.  I used Lace Edged Leaves cut in white as accents around the flowers.  For the sentiment I cut the Noble Thanks in black and added it to a piece of white vellum that I glued across the centre of the card.  The card was completed with white and black mats and layers.  The finished dimensions are 4 3/4"  x  9" in size. 

I just thought I would let you know that I will be joining Gwen Fletcher on her 5:15pm show on Create & Craft today.  We are showcasing the latest release of the Big Bold Word Collection.  I hope you will be able to tune in and watch!   All for now, Sue x


                                         Follow my blog with Bloglovin

Monday, 22 March 2021

March Die Release Blog Winners

 Hello bloggers!  I know it was a lightning strike of a blog launch, but I hope you enjoyed it nonetheless!  I got some really lovely comments (which I always enjoy reading too!) so thank you for those.  The really nice thing is the winners have been drawn and are ready for you earlier than usual! LOL   Without any further wait, here they are:


Happy:   Clai01!!!

Birthday:   Muriel!!!

Because:  Jan on the Fosse!!!

Surprise:  Princess Pixie!!!

Celebrate:  Carol Edwards!!!

Clipped Corner Rectangles:  Yorkie Girl!!!


Congratulations all!  Please email me at americansue1@gmail.com to claim your winning die and confirm your postal address for me.  I ask that you put the name of the die you won in the subject line of your email as it makes it easier to get the dies out to you.  Thanks so much!  All for now. Sue x

Home Tweet Home

 Hello bloggers!  This is one of my favourite cards form the January release!  I started with the background and I used a piece of black card and painted it with our Crackle Glaze and let it dry.  Once dry, I painted White Matt Chalk paint with a small amount of Chocolate Gold Metallic Lustre paint mixed into it.  As you paint over the crackle glaze, the chalk paint reacts with it and begins to crackle and give you the look you see here on the background.   I cut a multi layered frame using the Slimline Stitched Rectangle Frames and added an aqua frame to the top of a wider white frame.  I added the frame over the background with mounting foam.   I used the Wise Old Owl set and the Moonlit Owl die set and cut several of the branches from both sets.  I inked the leaves with Forest Moss ink after cutting the branches from tan card.  I used the birds from the A Little Birdie told me die set and cut them out of tan card.  I used barn door ink for their bellies.    I cut the nest and added some duck egg blue eggs to it and glued it to the centre branch.  I cut the sentiment out over aqua card several times and stacked them together then glued it to the background.  The card was completed with white and aqua mats and layers.  The finished dimensions are 6"  x  10 1/4"  in size.  

Don't forget to check back later today to see if your name is on the list of die winners from the recent blog launch!  Remember you will need to email me to collect your winning die too!  All for now. Sue x


                                                           Follow my blog with Bloglovin

Sunday, 21 March 2021

Miss You

Good Sunday morning all!  I decided to use up some of my scrap card and came up with this card.  I cut 1/2" strips of lilac, aqua, blush, and blue dusk card.  I attached a sticky adhesive sheet to a piece of copy paper then added the strips to it, butting each one up next to each other.  I cut the piece into three pieces.  I use the Slimline Stitched Rectangle Aperture Trio cut in white.  I added mounting foam to the back then added the three sections of the striped card.  I attached the centre on so the lines were vertical and the two side section were at opposite diagonals.  I cut the Splendid Swirls in white and added one to each of the side sections.  I cut the Miss You sentiment twice and glued them together then added it to the centre section.  The card was completed with white mats and layers.  The finished dimensions are 5 1/4"  x  9 1/2" in size.  All for now. Sue x


                                                        Follow my blog with Bloglovin

Saturday, 20 March 2021

Surprise

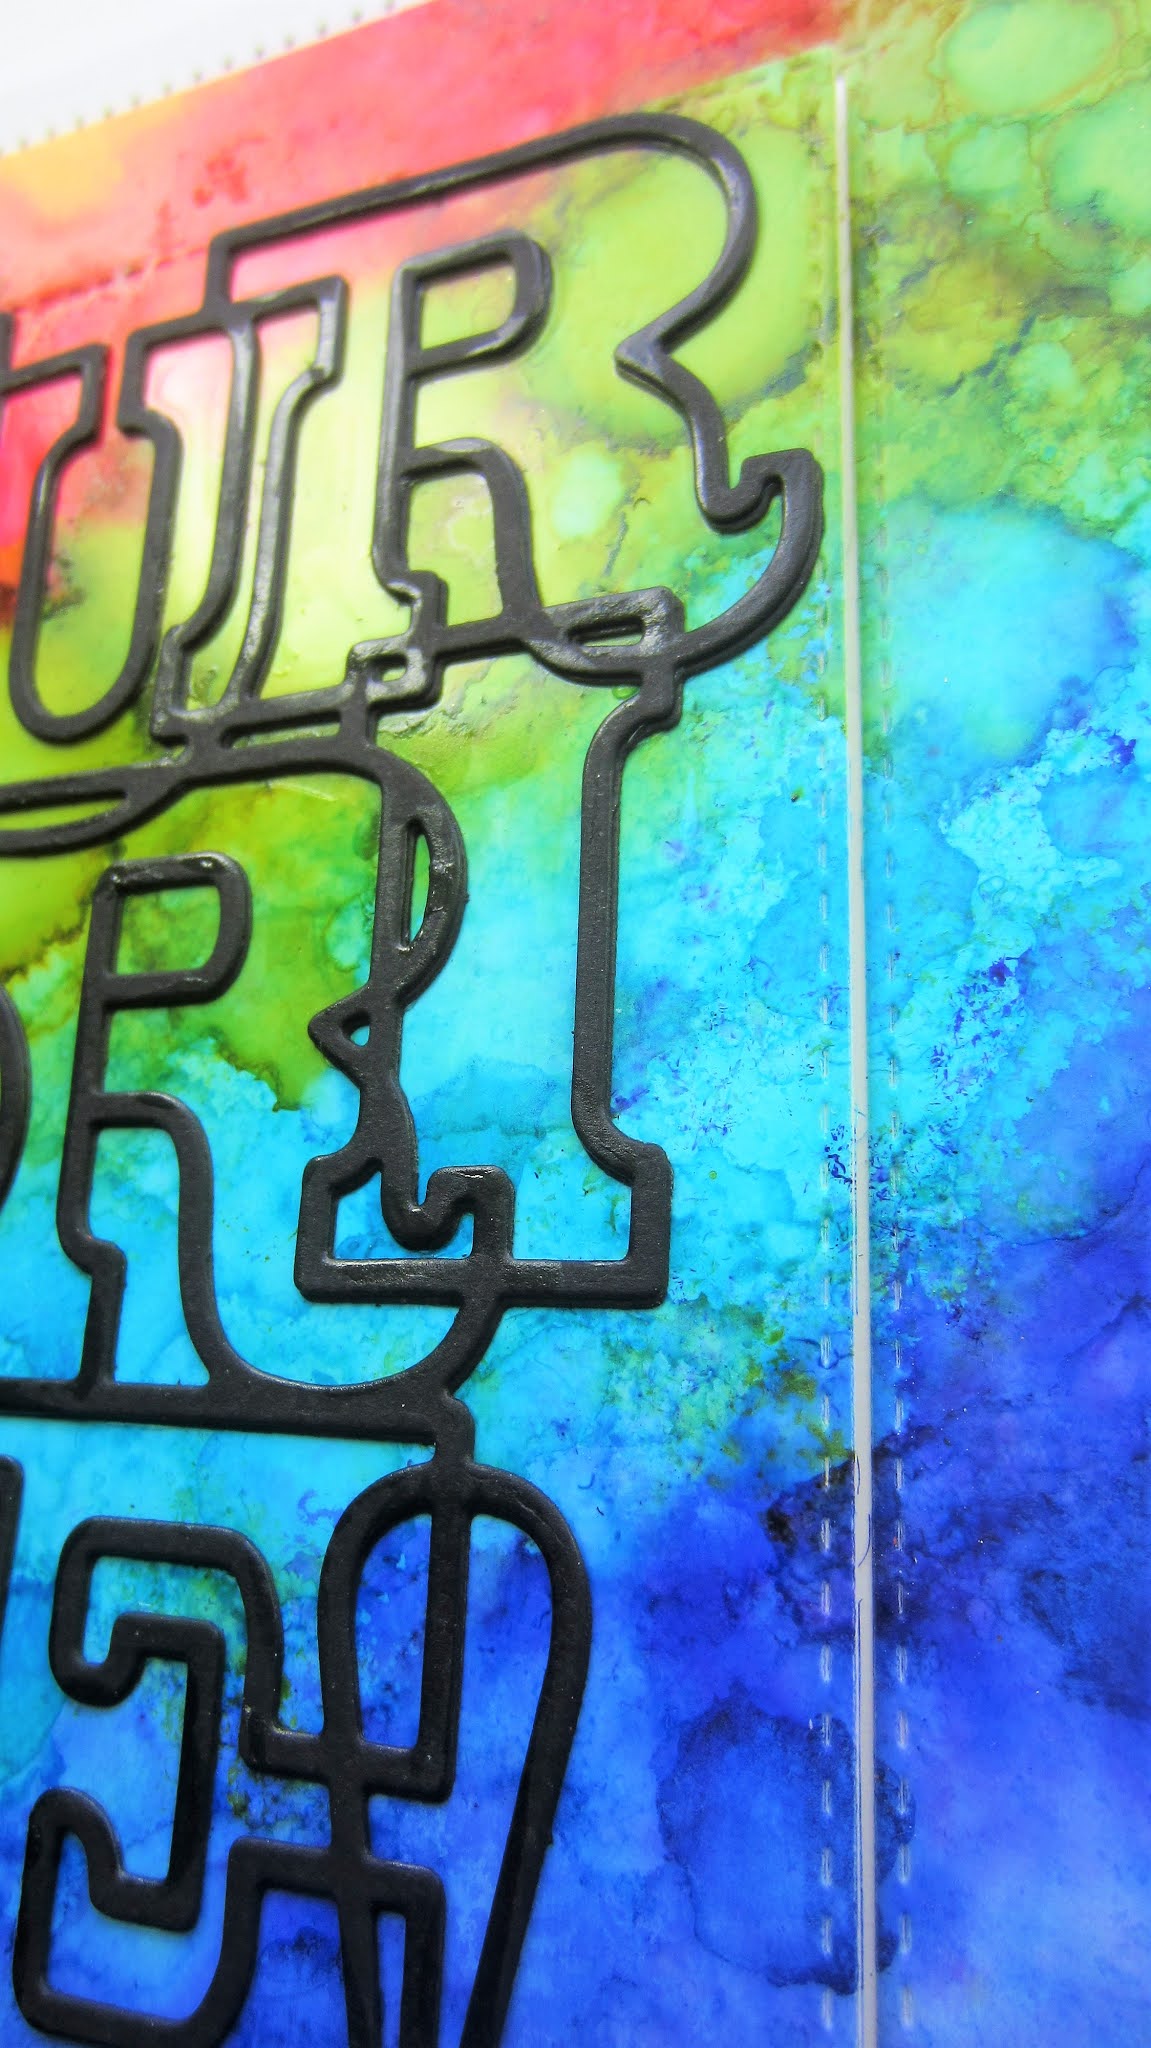
 Hi bloggers!  I just love these Big Bold Word dies, there are so many fun techniques you can do with them!  I started today's card by using alcohol inks on white Yupo paper.  I laid down diagonal lines of Purple Twilight, Sailboat Blue, Patina, Citrus, Red Pepper and Sunshine yellow alcohol inks.  I used a blender tool with felt on it and some Blending Solution drops on the felt to make the colours dance a bit in the stripes.  Once I was satisfied with the result, I used the Double Stitched Rectangles to cut it into two pieces.  I raised the inside piece with mounting foam.  I cut the Surprise die twice out of black card and glued them together, then glued it to the centre of the card.  The card was completed with white and black mats and layer.  The finished dimensions are 7 1/4"  x    8 1/4" in size.   All for now,   Sue x


                                                          Follow my blog with Bloglovin

Friday, 19 March 2021

Sloth

 Hi there my crafty friends!  I am sharing one of my favourite sloth cards!  I started with the Tribal Fabric stencil and decided to go bright!  I used a piece of white card and sponged Mustard Seed and Picked Raspberry randomly all over the card.  I dried it with a heat tool, then taped the Tribal Fabric stencil over it.  I sponged Black Soot Distress ink through the stencil to make the pattern pop.  Next I used the Double Stitched Squares and cut out a centre square.  I raised the outer frame with mounting foam, then recessed the centre back into it.  Next I stamped the sloth and cut it out with the matching Sloth die.  I used Distress markers to colour, then added a vellum backing behind.  I mounted the sloth across the centre of the card with foam.  The card was completed with white and black mats and layers.  The finished dimensions are 7 3/4"  x  7 3/4"  in size.  All for now Sue x


                                                      Follow my blog with Bloglovin

Thursday, 18 March 2021

Clipped Corner Rectangles

Hi there my crafty friends!   The final post of the March die release is to showcase the new Noble Clipped Corner Rectangles.  Shown here, they have been designed to use with the Big Bold Word dies to give them a lovely framed look.  This set has a decorative trim line that is debossed to give you a really elegant look with your frames.  It has been designed to have the debossed feature on both sides of the cut line, which means that you will get it on the inner and outer edges of all of your frames too.  There are eight dies in the set so you can easily make frames of many sizes or use them for matting and layers too!  Go ahead and leave your comment here for a chance to win this set.  Don't forget to check back on the afternoon of the 22nd to see if your name is on the winners list!  Well it has been a quick one for certain, but I hope you have enjoyed the March die release!  All for now. Sue x

                                                                                
                                                       Follow my blog with Bloglovin