Sunday, 25 September 2016

Double Brussels Sunday

Good Sunday morning all!  I thought these two cards were the perfect pairing to use for today's double day. Think masculine card for this first one, black card, no frills, no flowers, plus the gilding flakes just show up so nicely on the black card!.   I started with a piece of black card and cut the Belgian border out of it repeatedly (eight times) without the outer cutting edge.  I attached a sticky adhesive sheet to the back of it once cut and turned it over and gilded the exposed adhesive areas on the front.  I used Silver Dream gilding flakes on this one.  Next I used the outer cutting die from the Brussels die set to cut an aperture in the centre of the card.  I added mounting foam to the background to raise it for dimension.  Next I coated the Royal Palace Stamp To Die For with Flake and glitter glue.  I covered the stamp with a piece of black card and quickly ran my hand over it to transfer the stamped image to the card.  Once the flake and glitter glue goes completely clear, you can use your gilding flake on it, but don't forget to clean your stamp straight away.  Using a small piece of rubit scrubit pad, I refined the gilding flakes on the stamped image to remove any extra flake.  I cut the image with the Brussels die  and I used the inner die to cut the centre of it as well to create a frame.    I cut the inner decorative die from the set out of coconut white card and glued it behind the opening.  I seated the entire shape back into the aperture and stamped my sentiment, cutting it out with the oval in the Antwerp die set.  I added mounting foam and placed it in the centre of the card.  To complete the card, a white, black, white mat order was used with Cosmic Shimmer white PVA glue dots around the inner white mat.  The finished dimensions are
7 3/4" x  8 1/4" in size.  Scroll down for card number two.


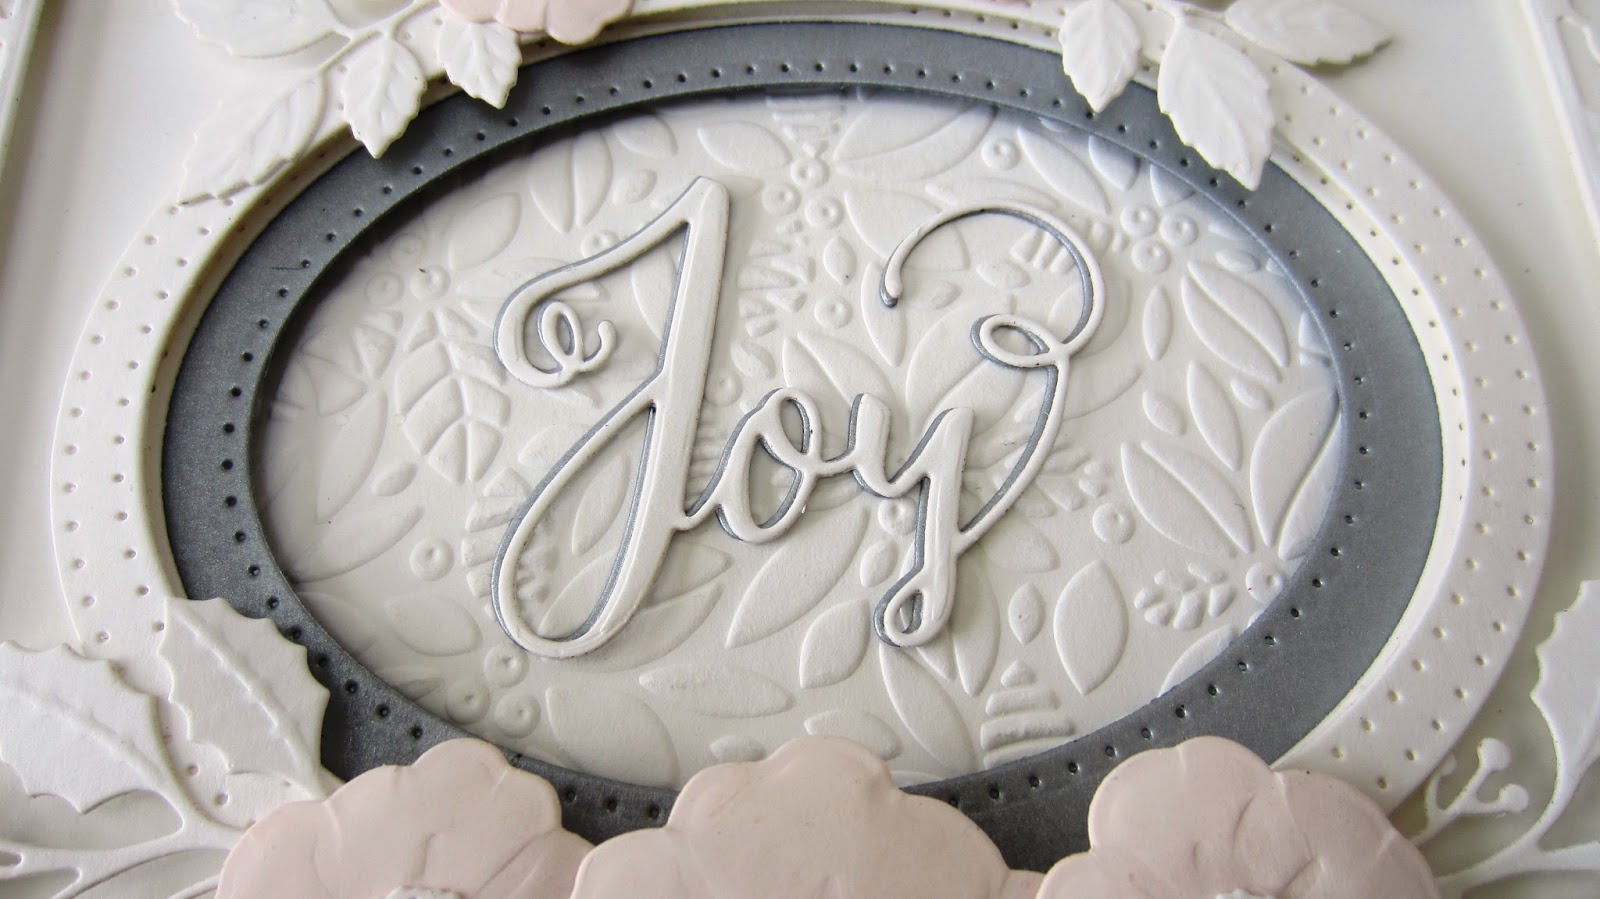
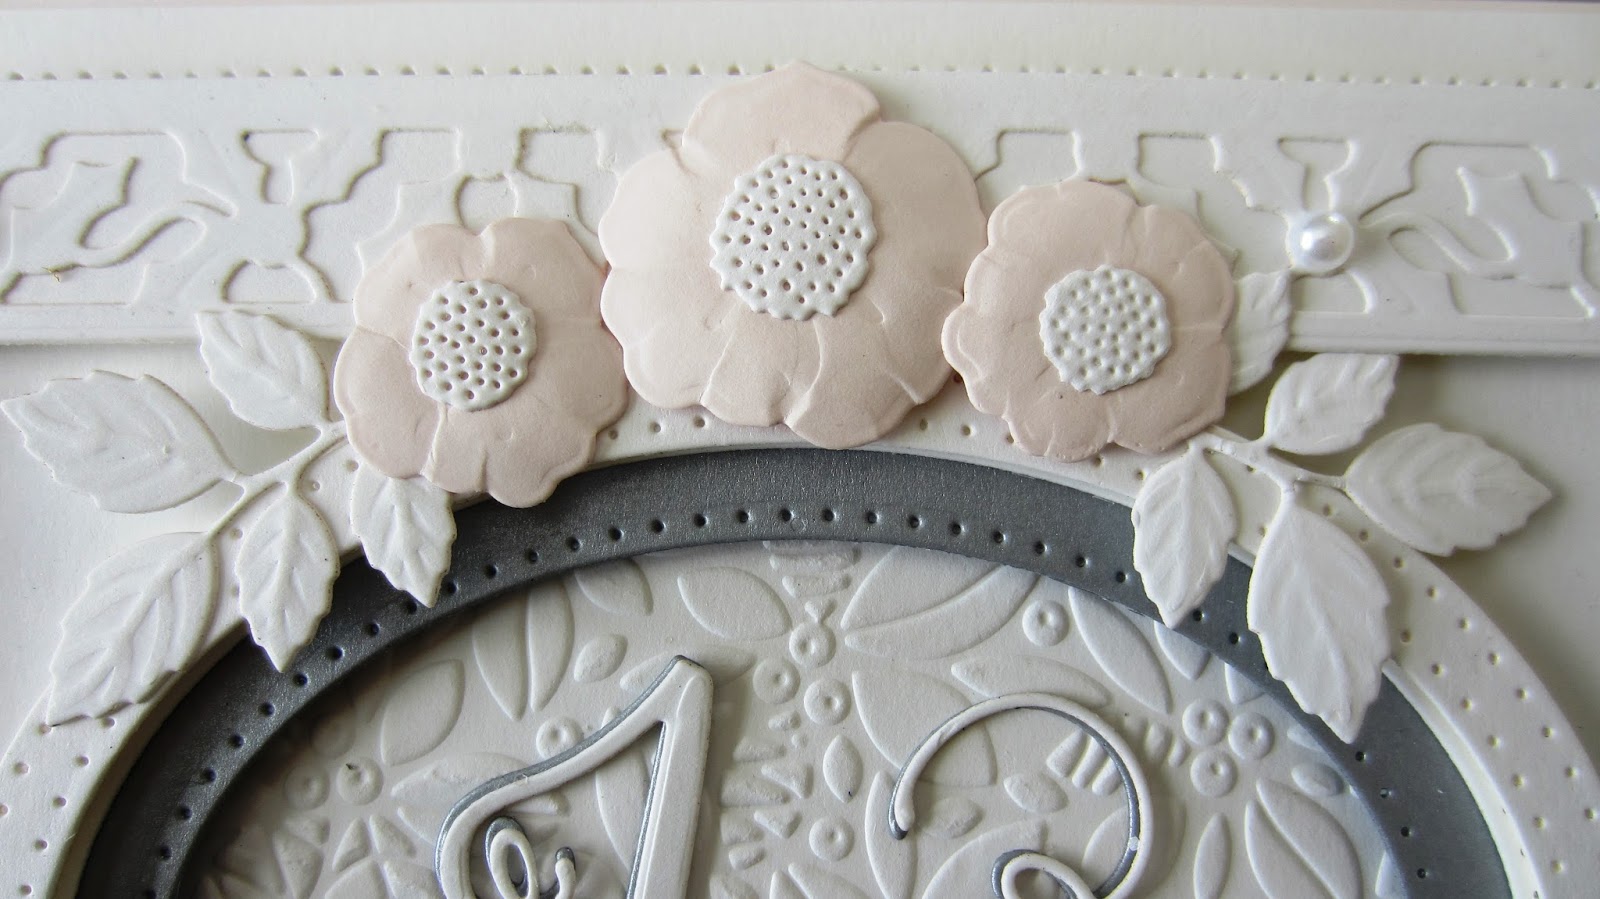
Card number two started by embossing three strips of coconut white card using the Provencale Lace embossing folder.  I added thin back mats and mounting foam and attached them to another piece of coconut white card to create my background.  I wrapped a piece of frilly edged white ribbon around the lower portion of the card and added a double bow to the side.  I topped the bow with a decorative rhinestone accent, some silver metallic linx and a couple of matching stick pins.  The focal element for this card is merely the cut out piece from the above card (we can't waste it now can we!)  I used the inside cutting edge from the Antwerp to cut the centre out of it to create a frame.  I cut the decorative die from the Antwerp and glued it in place behind the frame opening and added another white backing piece to it.  I stamped my sentiment and cut it out with the oval die in the Antwerp set.  Black and white mats were used on this card to finish it as well, but I pierced the inner layer this time.  The finished dimensions are 7 1/2" x  8 1/2" in size.

The winners of this week's comment game are:

York's Butterfly!!!
Netty the runner!!!
Barbara V!!!

Congratulations all!  Please email me at americansue1@gmail.com to confirm your address and claim your prize.  All for now, Sue x


                                                          Follow my blog with Bloglovin

Saturday, 24 September 2016

Double Fan Card


Hi bloggers!  Today's video card uses the Ornamental Accents die set to create a stunning double fan card.  There are so many ways you can use these dies, but in their simplest form, they make a lovely fan.  Why not start there and then branch out into all sorts of other ways to use them.  Your creativity will begin to just spill over once you have a play with them!

The winner of the Wednesday Card Giveaway is:

Iris Harbourne!!!

Congratulations!  Please email me at americansue1@gmail.com to confirm your address and claim your card!


I hope you can tune in for my shows today on Hochanda.   They start at 9am and then again at 12 noon, 4pm and 7pm for the final show of the day!

We also still have two unclaimed dies from the drawing, please check the list (scroll down several posts to find it) and see if your name is among the winners!


The finished dimensions are 7 31/2" x
 9 1/4" in size.  All for now, Sue x
                                                 
                                                        Follow my blog with Bloglovin


Friday, 23 September 2016

Christmas Double Days


Hello all!  Double the fun today with two more Christmas cards!  First up, I used the inner die from the Poinsettia Mini Background and cut three panels across.  There is a very thin strip of card between each, but the centre covers it up.  I left a large margin and added mounting foam to the back of it.  I added a strip of white pearls all the way around the edge (I cut the double strips down the middle to use a single row all the way around).  I mounted it over our Ruby Red card.  For the focal element, I cut the Holly Octagonal die in both white and black and offset the black behind it as a shadow.  I cut the centre of the Ornate Holly Framed Peace die and added a red backing then cut the inside of it to create a frame.  I added mounting foam and raised it over another piece of white card.  I cut the peace die in both white and black and shadowed it and glued them into the centre of the frame.  Both pieces were added to the centre of the card.  I added pearls to the flower centres then completed the card with white, red and black mats.  The finished dimensions are 6 1/2" x  9 1/4" in size.  Scroll down for card number two.


Card number two uses our new Midnight Blue pearl card (I know it looks like it is black in my picture, but when you scroll down you can see the shimmer better in the other pics.)  I cut the outer die from the Poinsettia Mini Background this time in white.  I backed it with the Midnight Blue Pearl card and then cut the centre out to create a frame.  I added mounting foam to raise it for dimensions.  I cut the Holly Octagonal die (same as in the first card) and cut it in half and mounted it to the insides of the frame sides.  I stamped a sentiment and centred it in between the die cut and mounted the frame over it.  As an accent, I cut the Christmas Rose die in white and added the centres in a pale pink and cut the leaves out of a ale green.  I seated the flowers on some white satin ribbon and mounted them in the lower corner of the card.  I completed it with white and blue mats to match and of course my usual paper piercing done with my piercing ruler.  The finished dimensions are 5 3/4" x  7" in size.  Two completely different cards done with the same basis dies.  I hope this will give you a few ideas for your own cards going forward.

I forgot to mention that I am doing the One Day Special tonight at 8pm on Hochanda.   It will be the first set of shows featuring my Christmas 2016 die release, so if you need some inspiration for your festive cards, you shall have it! LOL  All for now, Sue x


                                                                              Follow my blog with Bloglovin

Thursday, 22 September 2016

Extended Frame Christmas Rose


Hello mt crafty friends!  Another Christmas video card as it will be upon us before we blink!  Today's video shows how to use the Ornate Holly Framed Noel die set to create a rectangular frame out of a square die.  The Christmas Rose makes a beautiful accent to the centre oval focal element too.


                                                        Follow my blog with Bloglovin

Wednesday, 21 September 2016

Wednesday Weekly Card Giveaway

Hello crafters!  I have picked out one of my favourite cards from the September die launch as a Wednesday card giveaway offering.  I selected milk and blush card as the starting point and embossed a piece of milk card with the Wild Rose embossing folder.  I decide to make it a petticoat styled card and used the new Romantic Edger for that.  I cut three of the base edger piece in milk and then used blush card to cut the matching outline die with it.  I adhered the pieces together and lined up the edger pieces in three rows going down the bottom half of the card.  I used the tiny heart border in the set to create a thin border between the top and bottom of the card, cutting the hearts out of milk card and backing them with blush.  For the focal element, I cut the Mauritius die in milk and backed it with blush card as well.  I used the centre die from the Madeleine die to cut a backing for my sentiment.  I added a blush back to it then stamped my sentiment on milk card and cut it out with the centre circle die and added it to the middle of the card.  I decided that there was enough going on already but it is always a personal preference if you want to add some flowers as well.  I completed the card with  milk, blush, milk mat sequence layers.  The finished dimensions are 6 3/4" x  8 1/2" in size.  Leave a comment if you would like to be included in the drawing to win this one!  The winner will be announced on Saturday's bog post.

Don't forget to scroll down to the post below to see if your name was drawn for a winner of one of the September die releases!  All for now, Sue x


                                                       Follow my blog with Bloglovin


Tuesday, 20 September 2016

Sept. Die Launch Winners!!

Hello everyone!  Thank you for being so patient and allowing me to get through the Ally Pally Weekend and get to the drawings!  It has taken the better part of the day with such a large die launch, but I will not make you wait any longer!  Here are the winners!!

Indian Ocean Background:  Crewe Trish!!!
Indian Ocean Border, Corner, Tag die set:  Eunice (Canada)!!!
Indian Ocean Tag Duo set:  Debbie Emment!!!
Mauritius:  Claio1!!!
Seychelles: Jacqui Oakes Alcock!!!
Maldives:  redfox (Sarah)!!!
Stork and Baby:  Sunset Bay!!!
Baby Shadow Box: Barbara Macaskill!!!
Stitched Doodle Flowers:  Denise T!!!
Stuffed Animals:  Jenny Wren!!!
Little Treasures:  Ruth Kidd!!!
Scalloped Lattice Frames:  Jane Franklin!!!
It's A Boy:  Elaine Ann!!!
It's A Girl:  Yorkshiresue!!!
Baby Onesie:  Pauline A!!!
Butterfly Frame: Evis M!!!
Butterfly Edger: Iritchie!!!
Romantic Edger:  Angela Drummond!!!
Blossom Edger; Jackie Meechan!!
Sunrise Adornment: Arlyn O!!!
Striped Swirl Edger: Izzy Wheadon!!!
Scripted Thank you:  Roison D!!!
Art Deco Alphabet Upper Case: June Horrocks!!!
Art Deco Alphabet Lower Case: Hetty Garlick!!!
Stitched Flags:  Yvonne 19856!!!
Madeleine: Sonia Stephenson!!!
Charlotte: Deb Curtis!!!
Doodle Rose Wreath: Elizabeth Louise!!!
Double Pierced Oval Nobles Set B; Helen Bell!!!
Essential Sizes Rectangle Nobles: Narrowboat Girl!!!
Double Pierced Circles Set B: Lorna DeWar!!!
Cepheus: June Fletcher!!!
Starflower Cluster: Sandie Braithwaite!!!
Cape Daisy: Kitty Davies"!!!
Bold Scrolled Vine: Suebak (Susan)!!!


Congratulations all!!  Please email me at americansue1@gmail.com to confirm your postal address so I can post your winning die sets out to you.  Please put the name of the die that you have won in the subject line of the email and your name and address in the body of the email.  It makes it so much easier so nothing gets confused!  Thank you again for all your support with this blog launch!  All for now, Sue x

Gilded Love Card


Hi bloggers!  Today's video card is a super simple card to make but the addition of gilding flakes to it really makes it pop!  It is sure to delight any recipient.

Also, just a reminder, but I am hoping to get all the drawings done and posted later today for the die launch winners! Be sure to check back this afternoon to see if your name is included in that list of winners!


 The finished dimensions are 6 1/2" x  7 1/2" in size.  All for now, Sue x

                                                    Follow my blog with Bloglovin