Tuesday, 23 December 2014

A Few More Christmas Cards!


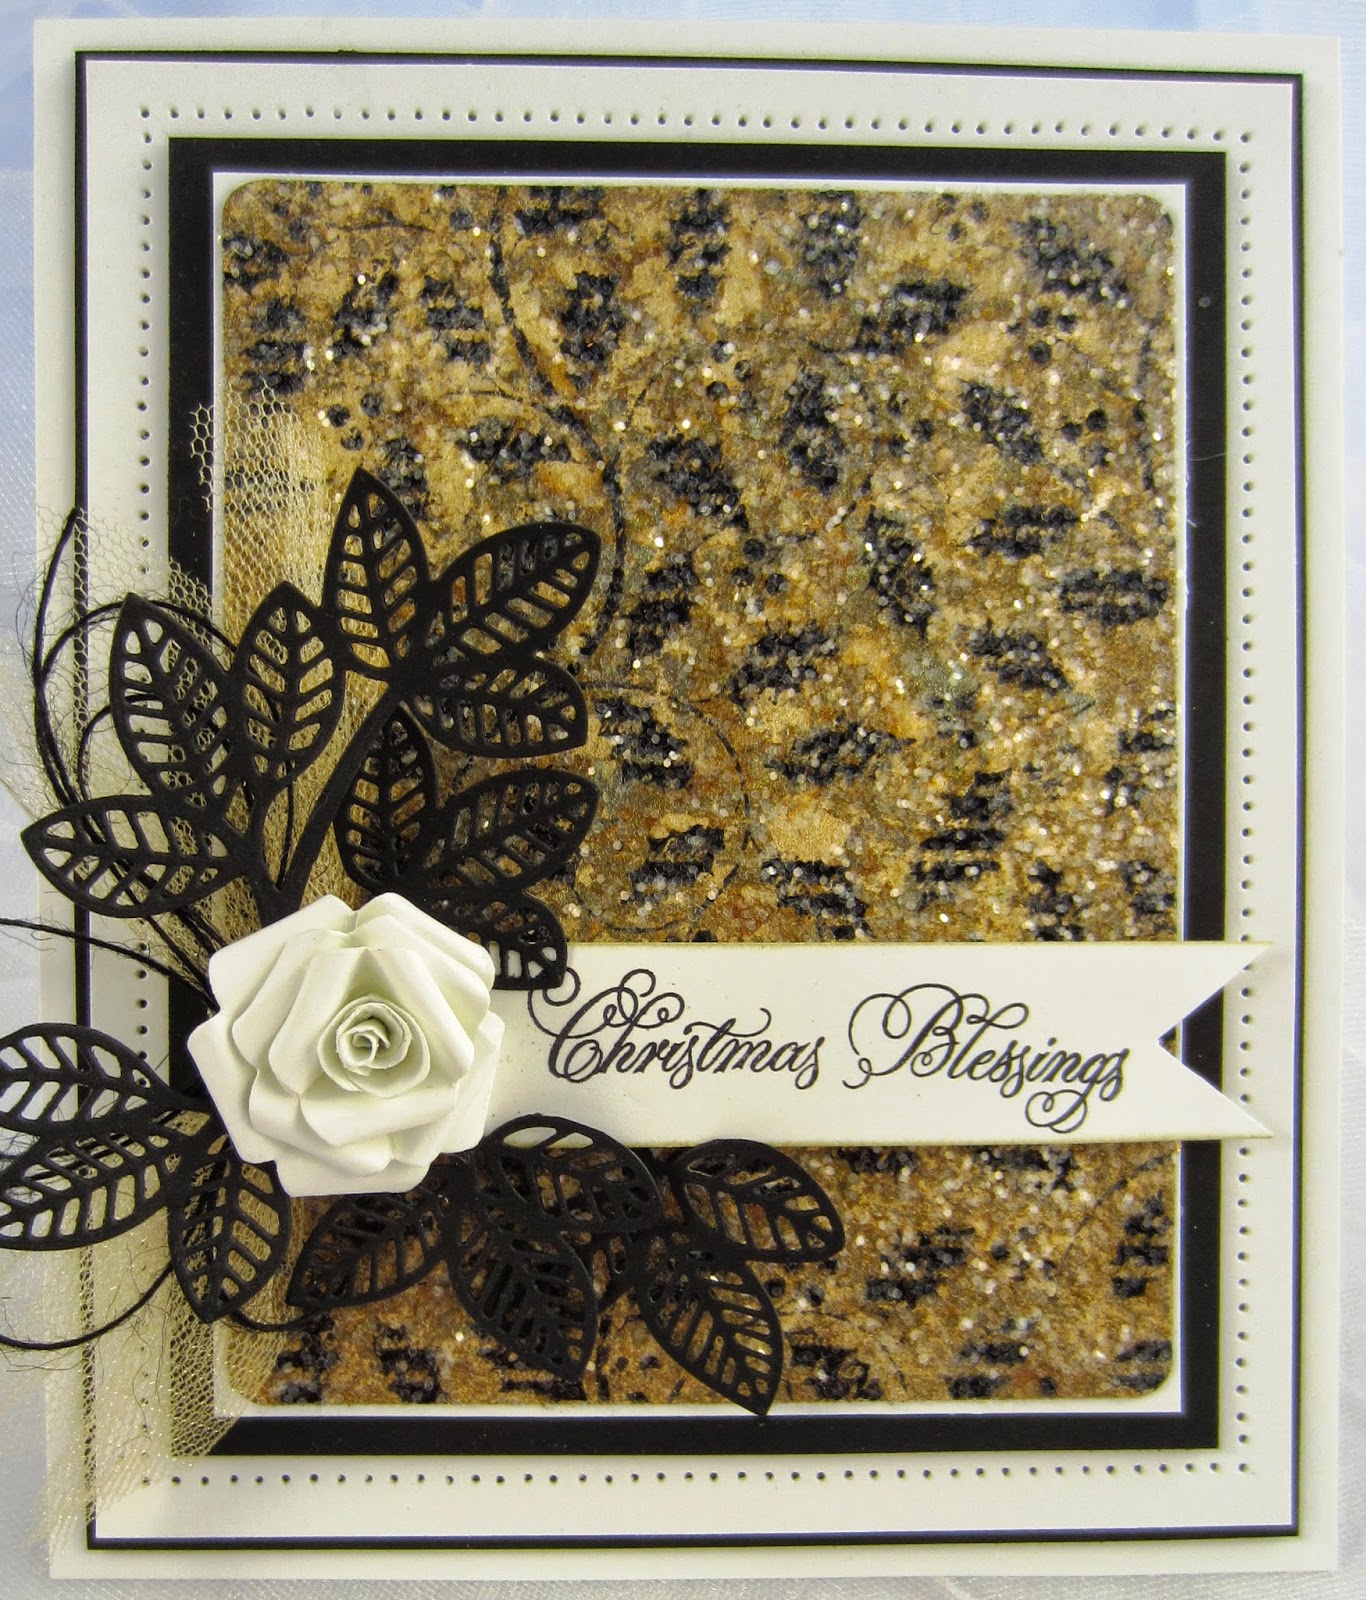
Hello bloggers!  Christmas card extravaganza day two! LOL  Lots of different styles in today's post for you to peek at!  I hope something here will tickle your fancy, if so, please let me know!  The big day is almost here so I hope everyone is all ready, pressies wrapped, food bought and ready, you know all the other stuff that needs to be finished off too!  I hope you will be able to pop back by for tomorrow's selection!  All for now, Sue x


Monday, 22 December 2014

A Few Christmas Cards


Hi bloggers!  Every Christmas I have a sort of annual routine where I show all of the Christmas cards that haven't been posted on the blog that year in a single post of Christmas Day.  However, this year, there is going to be a bit of a change to my routine and I hope you won't mind.  I have a couple of issues that I need to address.  Firstly, I have an overwhelming number of Christmas cards left, usually there are about a dozen, but I have about 40 cards! When I did the last Christmas Double Day on Friday, I didn't have a clue that I had so many left either! Secondly, I am a bit shorter on time than usual for this time of year as I am trying to get in a few more days of video filming while I am here on the run up to Christmas.  So my solution for both problems is to give you a week, no eight days of multiple card posts (better than just mere double days!), but without the step by step for each card to save on time.  If, however, there is any particular card that you can't work out, or need to see close ups, just email me directly.  I hope you won't be groaning stop, stop, stop by the end of it all! LOL  All for now, Sue x


Sunday, 21 December 2014

Friends Forever

Good Sunday morning all!  I have a clean and simple style card for today's offering.  I stamped my sentiment in the lower corner of a piece of coconut white card using a Black Archival ink pad.  Next I cut a piece of black card the same size and put a piece of double sided tape on the back of the white card to keep the black and white cards aligned (white on top, black behind).  Using the Complete Delicate Daisies dies in several of the larger sizes, I arranged them in a slope across the front of the white card with the edges of the petals near the next flower.  I cut the dies by running them through the Grand Calibur, a few passes it takes due to the double thickness of the card.  Next I took the dies out and used my scissors to nip away the areas of the white card between the flowers, exposing the black card behind.  I added more adhesive to the back of the white card and aligned the two pieces, leaving just the flower cut away open.  Using Mauve and black card, I cut the same flowers using both the Delicate Daisies complete petal and the open petal die styles.  I assembled the four flowers and inlaid them back into the areas where I cut the original flowers.  I added 5mm white flatback pearls to the centres of each flower.  I completed the card with a white paper pierced mat, then added a thin mauve and thin black mat and a final white mat.  The finished dimensions are 7 1/4" x  9" in size.

Now for the winners of the weekly Comment Game.  This will be the last set of winners for 2014.   I will resume the weekly Comment Game after the new year!

This week's winners are:

Gwen 70!!!
Debs Artliff!!!
Patricia Youdell!!!

Congratulations all!  Please email me at americansue1@gmail.com to confirm your address and
claim your prize!

I would just love to be able to hear from you, but I do know how busy we all are this time of year.  If you get a chance, please let me know how your last minute Christmas chores are shaping up!  Are you ready or not?  All for now, Sue x


Saturday, 20 December 2014

Special Day

Hello bloggers!  This one screams wedding or anniversary to me, what do you think?  I just love the Austrian Background so I have used it loads of times in different ways.  For today's card, I covered a piece of coconut white card with a self adhesive sticky sheet and ran it through with the background die.  Since it is a detailed background, it won't cut all the way through with a single pass, which is what you want for this technique (there will be a few areas that do however, so those will need to be taped back into place from the back before removing it from the die).  I removed the die, but added in the oval centre die to cut an opening in the middle.  Using my pokey tool, I removed the areas of the backing paper that would ordinarily be cut completely out, revealing the sticky adhesive sheet.  Once they were all removed, I covered the background with silver polished silk glitter and burnished it into place.  I dusted away any excess with a tissue before removing the remaining bit of the backing paper.  Once removed, it exposed the sticky sheet that was left so I covered it with Iced Snow.  I added mounting foam to the back of it to raise it for dimension.  I stamped my sentiment (from Justrite) using a Clear Perfect Medium pad and heat embossed it with silver shine embossing powder.  I mounted the background over the sentiment so it showed through the centre opening.  I stamped some flowers using the Heartfelt Creations Majestic Morning flowers and cut them out with the matching die.  I layered up several of them for the area under my sentiment and made one to go in the opposite corner.  I seated the flowers on some silver seam binding and used a fancy stick pin that was given to me along with a triple pearl pin that I coloured with silver distress stain.  I cut a few swirls from the Bella Rose die to add around the flowers.  I finished the card with a pierced white mat using my piercing ruler on coconut white card and then a final white mat.  The finished dimensions are 6 1/2" x 8 1/2" in size.

I thought you might also like to see a couple of pictures that were taken on a three day mid week getaway I was on recently.  There was a triple wedding in the family that took place in the Bahamas (it's only an hour flight from Florida) so I flew down for it.  I had a free day before the wedding so decided to go swim with the dolphins!  Well it isn't really swimming with them, but you do get to pose with them in the water so it was quite fun!  The last pic was taken just seconds before our dolphin named Tess splashed me good with her tail!  She was only a year old and her trainer said that she was a bit of a handful!

I have a bit of a special treat today as well because  I have just realised that I have two copies of the Wednesday Card Giveaway as it was used for one of the demos on the Create and Craft USA segments that I filmed!  So we have two winners this week!  Which is also nice as this is the last Wednesday card giveaway of the year too.  We will start it back up in 2015 though so not to worry!  This week's winners are:

Barbara Macaskill!!!

and

Helen Jones!!!

Congratulations!  Please email me at americansue1@gmail.com to confirm your address and claim your prize.  All for now, Sue x


Friday, 19 December 2014

It's A Double Day!

  Hello there my crafty friends!  Welcome to the very last Christmas Double Day of 2014!  The first card uses the Illuminated Christmas Tree aperture for the focal element.  On a piece of coconut white card, I cut the Christmas tree out, then embossed the halo around the top of the tree.  I added mounting foam to the back to raise it for dimension,   I covered a piece of decorative card with a sticky adhesive sheet, then coated it with Iced Snow.  I mounted the tree cut out over it so it showed through the aperture.  I matted it with a navy blue mat and added foam on the back on it.  On the backing piece, I embossed a piece of coconut white card with the Holly Swirls embossing folder.  I wrapped a piece of navy blue silky crush ribbon around and taped the ends to the back, then added a double bow to the centre.  I topped it with a white crystal sparkler and tucked my sentiment tag underneath.  I added a final set of mats with a wider white mat to which I added white Cosmic Shimmer PVA glue dots, then a thin blue mat and a final white mat.  The finished dimensions are 7 1/2" x  9" in size.  Scroll down to see card number two.


Card number two showcases the Noel die, or at least part of it!  I selected a piece of decorative paper from my stash.  I covered it with a sticky sheet and micro beaded the background for texture.  I wrapped a piece of white seam binding around opposite corners and added a messy bow in the lower corner.  I accented it with a white crystal sparkler and two matching stick pins.  For the focal element, I cut an Ornate Square in white as a backdrop and attached it in the centre of the card.  I cut the Noel die in Ruby red card, but trimmed away the outer area on a paper cutter, leaving just the Noel lettering itself.  I added mounting foam and attached it in the middle of my die cut backdrop for a simple look.  I finished the card with a pierced white mat, a thin red mat and a wider white mat layer.  The finished dimensions are 7" x  7" in size. 


And finally, I have been asked to remind you to vote in the 2014 Craft Awards.  Voting closes on Sunday the 21st and once you vote, you are entered into a drawing to win some goodies.  Just have a look at the email they sent me below for details! All for now, Sue x

You could WIN a bumper stash of crafting goodies from all the 
winning brands PLUS a 32GB iPad Air together worth over £700!

http://craftsbeautifulmagazine.msgfocus.com/files/amf_aceville_publications/project_129/Voting_push_prize2.png

Cast your votes and be automatically entered into the
 prize draw. Simply take a look at the nominations 
and pick your favourite in each 
category - it’s as simple as that!
 http://craftsbeautifulmagazine.msgfocus.com/files/amf_aceville_publications/project_129/Craft_Awards_Logo_2014.png


The categories are ...

Best Online Retailer
Best Craft Blog
Best New Product 2014
Favourite Papercraft Range 2014
Best Sticking Product Range
Best Craft Punch Range
Best Gadget/Machine Investment in 2014
Best Painting Range
Best Rubber Stamping Range
Best Baking Range for Crafts
Best New Craft Book 2014
Best CD-Rom/DVD Product
Favourite Knitting & Stitching Product
Favourite Fabric Range
Best Sewing Machine Brand
Best Independent Store, North of England
Best Independent Store, South of England
Best Independent Store, Midlands
Best Independent Store, Scotland
Best Independent Store, Wales
Best Independent Store, Ireland
Best TV Shopping Channel for Crafts
Best UK Craft Exhibition/Show 2014
Best Craft Chain Store
Best Overall Designer 2014
Favourite Craft Celebrity

VOTING CLOSES SUNDAY 21ST December 2014*


Thursday, 18 December 2014

Faux Porcelain Flowers


Hello my crafty friends!  This card has loads of shape changes in the dies used and shows you how to achieve a porcelain look for your flowers to give your cards and projects an extra head turning look!  I think you will really like it!


Buy from Joanna Sheen


The finished dimensions are 6 3/4" x  8" in size.  All for now, Sue x


Wednesday, 17 December 2014

Wednesday Weekly Card Giveaway

 Hello crafters!  I just can't stay away from the Fire and Ice Technique for too long and this one is all about it!  I started with a piece of milk card and cut the Austrian Background die.  I covered the front of it with a sticky adhesive sheet, turned it over and gilded it from the back with Summer Meadow gilding flakes.  Next I peeled off the backing sheet that was still on the front of the card, exposing the adhesive and covered it with Iced Snow.  I trimmed it and added mounting foam to the back.  Next I cut a frame using the Salzburg die set out of white card and backed it with vintage gold card.  I added mounting foam to the back and stamped my sentiment, mounting the frame over it.  I trimmed the excess card away and added it to the middle of my card with glue.  I gilded an extra piece of white card and then cut the Delicate Daisies Complete petal out of it.  It is easier to cut the gilded card than it is to gild the cut daisies as you run the risk of creasing the petals.  I added the open petal die cut out of white card to the top of each of the flowers then coated the petals with Cosmic Lacquer and allowed them to dry overnight before assembling my flowers.  I tied a messy bow out of white seam binding and added the largest flower to it with a couple of matching stick pins.  I made two smaller flowers and added them to the opposite side of the framed sentiment.  I finished the card with a paper pierced milk mat layer, then a thin mat of vintage gold card and a final milk card mat.  The finished dimensions are 7 1/2" x  9" in size.  If you would like to be included in the drawing to win this one, just leave a comment and check back on Saturday to see if your name has been drawn!  All for now, Sue x